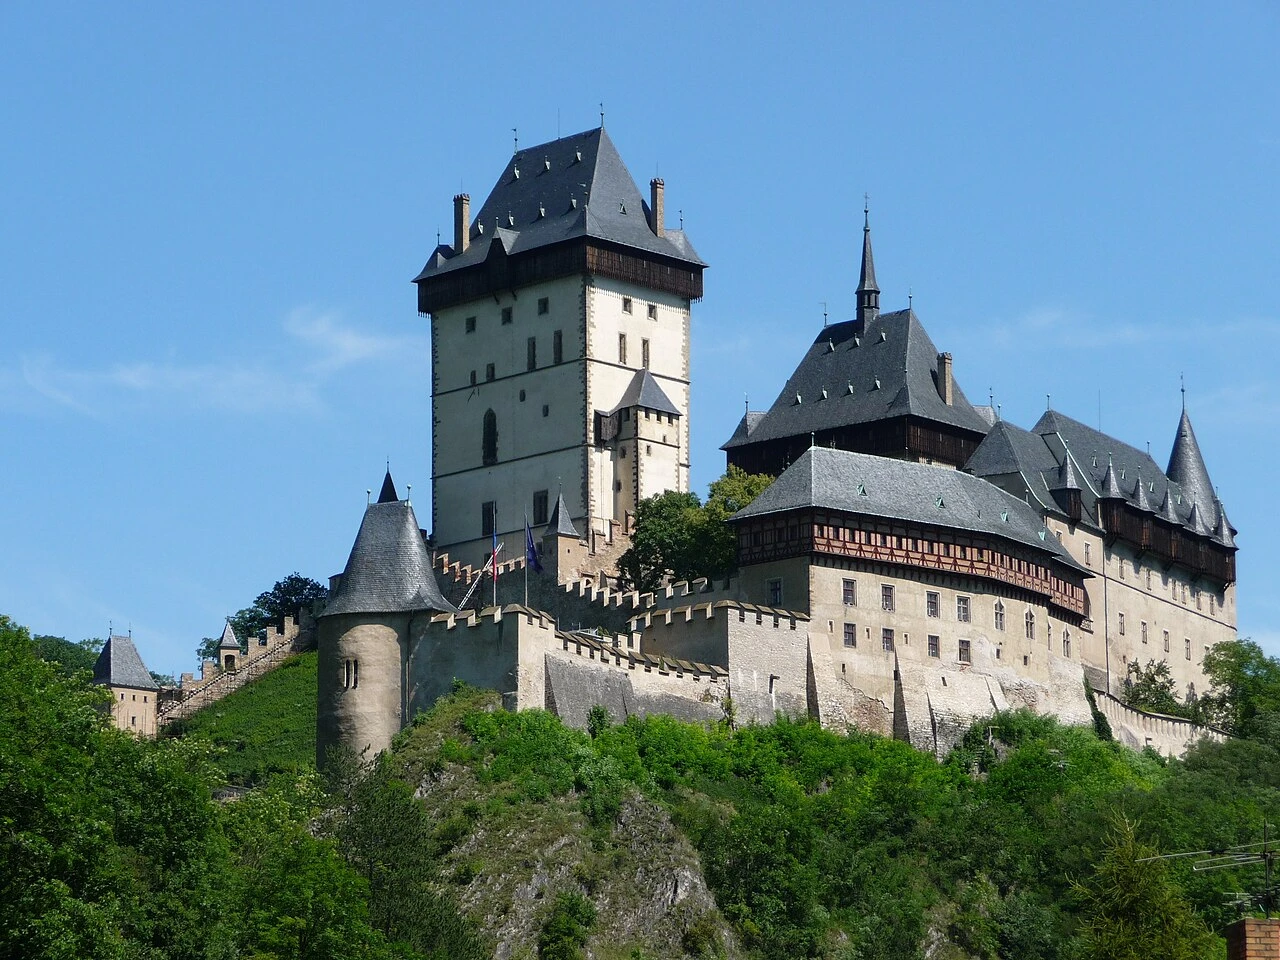
Stanza · Audio guide
Karlštejn CastleAudio guide
A place to remember. A story to take with you.
Karlštejn Castle is a Gothic castle in the Czech Republic, founded by Charles IV. It served as a place for safekeeping the Imperial Regalia, Bohemian Crown Jewels, holy relics, and other royal treasures.
Download Stanza, then search for “Karlštejn Castle”.
About the tour
One guide. Your kind of visit.
Karlštejn Castle is a Gothic castle in the Czech Republic, founded by Charles IV. It served as a place for safekeeping the Imperial Regalia, Bohemian Crown Jewels, holy relics, and other royal treasures.
Ready when you are.
- 01Get the free Stanza app.
iOS & Android
- 02Find your guide.
“Karlštejn Castle”
- 03Download before you go.
Works offline
Audio guide / 26 narrated stops
Inside the guide
Get to know a few of the stories before you go. Open a stop to read more.
01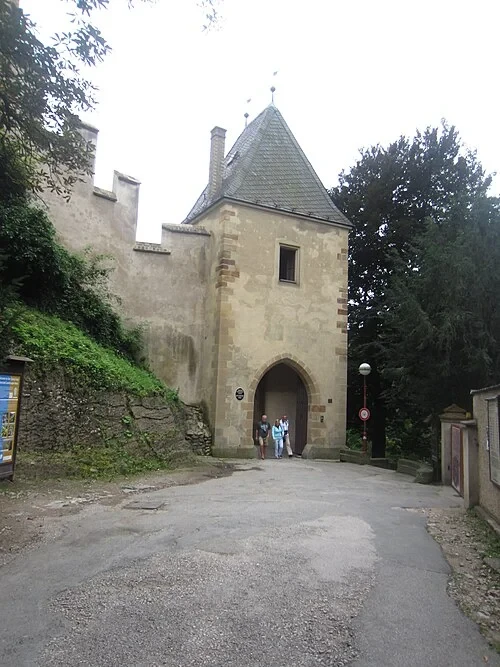 The First Gate and MoatFirst Gate of Karlštejn Castle
Welcome to Karlštejn Castle, one of the most significant fortresses in Central Europe. Its construction began in 1348 under the direction of the Holy Roman Emperor and King of Bohemia, Charles IV. This specific gate tower marks the official entrance and the first major obstacle for any visitor or potential attacker. As you look at this square, two-story structure, you are seeing the outermost layer of a security system designed to be impenetrable. In the Middle Ages, this area featured a functional moat and a drawbridge, ensuring that access could be cut off instantly in times of danger. For over 650 years, people have crossed this threshold, from royal entourages and holy pilgrims to the modern visitors of today. The tower is characterized by its heavy masonry and the archway that funneled all traffic into a narrow, controllable space. Charles IV intended for this castle to be more than just a residence; it was a sacred vault for the Empire's most holy relics and coronation treasures. This gate served as the essential first filter for anyone seeking to enter that protected realm.
Interfase · CC BY-SA 4.0
02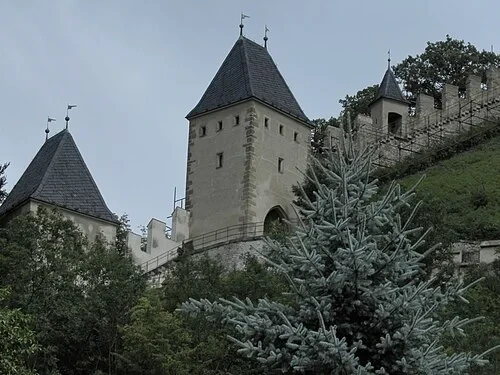 The First Gate and MoatVoršilka Tower
The construction of Karlštejn was an ambitious project that took nearly two decades to complete, with the main work occurring between 1348 and 1365. One of the most striking features of the Voršilka Tower and the surrounding walls is the way the building seems to grow directly out of the jagged rock. The medieval architects integrated the steep, natural cliffside into the castle's defensive strategy, making it nearly impossible for siege engines or infantry to approach from certain angles. This seamless blend of nature and masonry created a vertical barrier that discouraged any direct assault. While much of the core structure is original to the 14th century, the sharp, dark rooflines you see today are the result of a comprehensive 19th-century restoration. These steeply pitched roofs were designed in the 'purist' Gothic style, intended to emphasize the verticality and power of the fortress. The tower sits on a ridge that offers a clear line of sight over the surrounding valley, allowing sentries to monitor any movement along the approach roads long before a visitor reached the first gate.
Jiří Bernard · CC BY-SA 3.0
03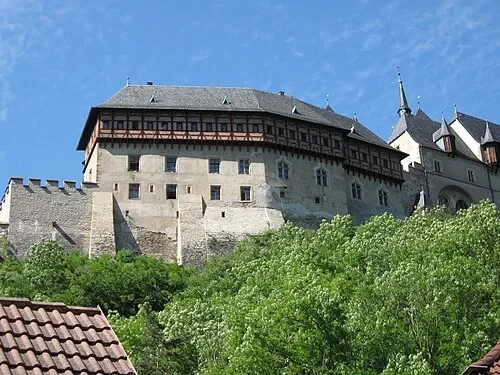 Burgrave House and the CourtyardBurgrave House at Karlštejn
Located in the lower portion of the castle complex, the Burgrave House was the center of daily operations. The Burgrave was the castle's chief administrator, a high-ranking official appointed by the king to manage everything from tax collection and regional law to the castle's military readiness. Unlike the heavily fortified towers that house the chapels, this building was designed for administrative efficiency and comfortable housing for the staff. Notice the distinctive half-timbered construction on the upper floor, a style commonly used in medieval civil architecture. This layout was intentional; by placing the busy, logistical heart of the castle in this lower courtyard, the higher, more sacred areas remained isolated and quiet. The Burgrave acted as the gatekeeper for the Emperor, filtering the constant flow of messengers, suppliers, and petitioners who sought an audience. While the Emperor occupied the higher palace, the Burgrave ensured that the complex functioned smoothly 24 hours a day. This house remains a fine example of how a medieval castle functioned as a small, self-contained city with a clear social and administrative hierarchy built into its very architecture.
Listen in the appPhoto: Juandev · CC BY-SA 3.0
04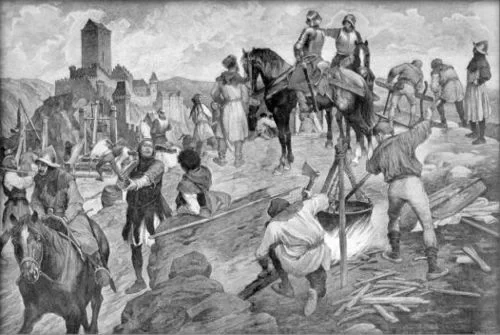 Burgrave House and the CourtyardSiege of Karlštejn
Karlštejn's reputation as an invincible fortress was put to the ultimate test during the Hussite Wars. In 1422, a large army laid siege to the castle for several months. When traditional military assaults failed to breach the massive walls, the attackers turned to a brutal form of biological warfare. They used heavy catapults to hurl thousands of carriage-loads of animal dung and even rotting human corpses over the battlements and into the castle courtyards. The goal was to spread disease and infection among the defenders, forcing a surrender through sickness rather than combat. Despite the horrific conditions inside, the castle’s garrison held firm. The design of the fortress, with its separate towers and independent supply areas, helped contain the spread of filth and allowed the defenders to hold out until the siege was eventually lifted. Throughout the months of bombardment and biological attack, the Imperial Regalia and the Bohemian crown jewels remained untouched in their vaults. This historical event proved that Charles IV had succeeded in building a sanctuary that could withstand not only physical force but also the most desperate and unconventional psychological and biological tactics of the era.
Listen in the appVěnceslav Černý · Public domain
05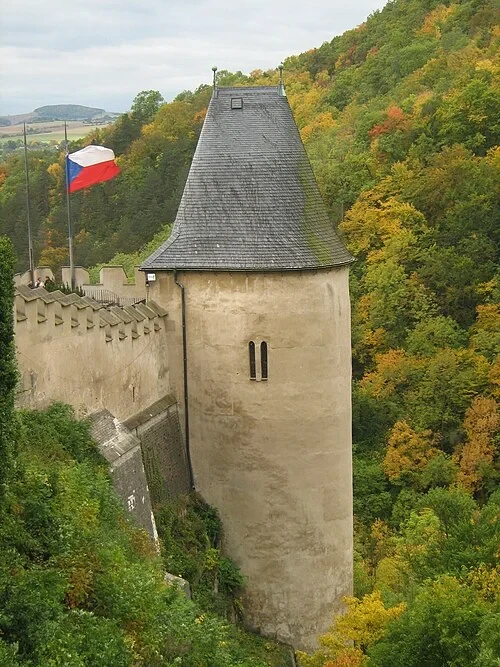 The Secret Well TowerWell Tower at Karlštejn Castle
Standing on a high limestone ridge, Karlštejn faced a significant problem: it had no natural spring within its upper walls. This tower was constructed specifically to protect the castle's water supply, its most critical vulnerability. Builders had to excavate a well through solid rock to a depth of 70 meters. This was a monumental engineering feat for the 14th century, as the shaft had to descend significantly lower than the level of the Berounka river flowing in the valley below. Without this well, the castle would have been unable to survive a siege for more than a few days. Because water was so essential, the Well Tower was heavily fortified and kept under constant guard. In the Middle Ages, the exact mechanics of how the water was reached were treated as a state secret. If an enemy knew exactly where the water came from, they could attempt to poison it or divert it, rendering the entire fortress useless. Today, the tower stands as a reminder that the grandeur of the imperial residence was entirely dependent on this hidden, deep-reaching artery that connected the hilltop fortress to the life-giving water table deep beneath the earth.
Listen in the appPhoto: BKP · CC BY-SA 3.0
06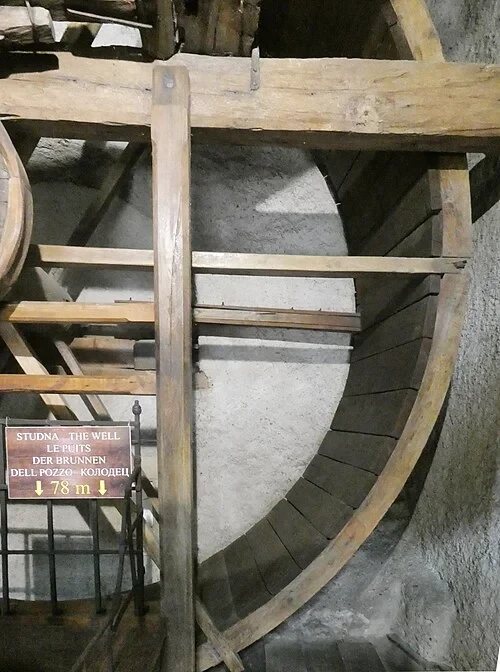 The Secret Well TowerThe Great Treadwheel
Inside the Well Tower, you can see the ingenious, if exhausting, solution to the castle's water problem. Because the well shaft was 70 meters deep, a simple hand-crank was insufficient for lifting the volume of water required for the garrison and the royal court. Instead, engineers installed this massive wooden treadwheel. Two or more men would step inside the wheel, walking continuously to turn the central axle, which wound the heavy ropes attached to the buckets. It was a grueling, repetitive labor that powered the castle's most vital resource. This mechanical system was an essential part of the castle's self-sufficiency. In the Middle Ages, the location of the well and the details of its construction were classified as a state secret. There was a lingering fear that if an enemy understood how the water was sourced, they could exploit that knowledge to force a surrender. The sheer size of the wheel gives you a sense of the scale of effort needed daily. Even when the Emperor was not in residence, the treadwheel had to be operated regularly to keep the castle's cisterns full and ready for any sudden military emergency or arrival of the royal entourage.
Listen in the appPhoto: Renardo la vulpo · CC BY-SA 4.0
07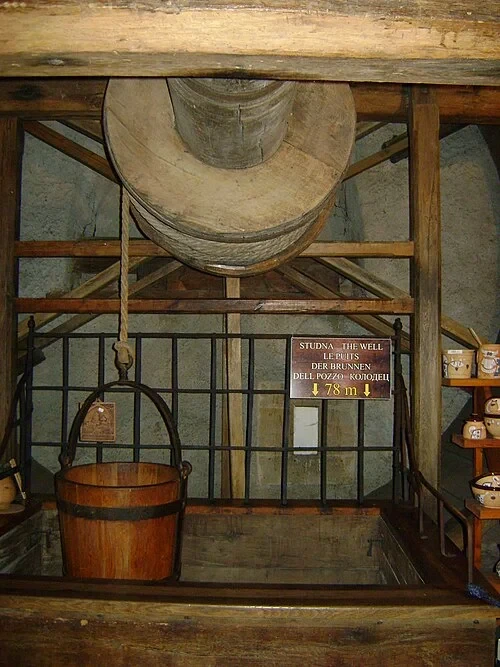 The Secret Well TowerThe Secret Water Supply
The security of the water supply was so vital that it spawned dark legends. According to local lore, the miners and engineers who finally reached the water source were executed to ensure that the secret of the well’s construction and its connection to the valley's water system died with them. While likely a myth, it reflects the genuine paranoia of the era regarding water security. Beyond the well shaft itself, the castle utilized an advanced reservoir system. This large cistern could hold a column of water approximately 25 meters high. This massive storage capacity meant that even if the well's mechanism failed or the source was temporarily interrupted, the castle had enough water to sustain hundreds of people and horses for several months. In an age when sieges were won through attrition and thirst, this reservoir was as important as any stone wall or iron gate. As you observe the heavy wooden structures and the dark opening of the well, you are looking at the most sensitive part of the medieval defense plan. The reliability of this system ensured that the most precious treasures of the Holy Roman Empire remained safe behind these walls, protected by both engineering and silence.
Listen in the appPhoto: Siverec · CC BY-SA 4.0
08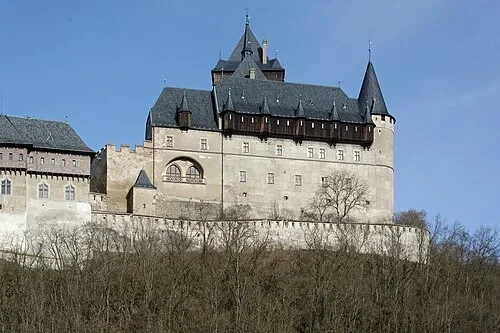 The Imperial Palace ExteriorImperial Palace at Karlštejn Castle
As the main residential building of the complex, the Imperial Palace was the primary living space for Emperor Charles IV and his court. The structure measures roughly 46 meters in length and 12.5 meters in width, split over several floors. The design reflects a careful balance between the prestige of a royal residence and the requirements of a military stronghold. The palace was built on a higher terrace than the administrative Burgrave House, marking a clear step up in both social status and security. Inside, the rooms were arranged to facilitate court life, with a grand hall for gatherings and more private chambers for the royal family. Thick stone walls and narrow windows ensured that even the most domestic parts of the castle were easily defensible. During the 14th century, this building would have been draped in rich tapestries and filled with furniture that could be moved between various royal residences. While it served as a comfortable home, it also functioned as a protective shell. From this central palace, the Emperor could move through secure passages to the more sacred towers, maintaining a lifestyle that was both public and highly protected from the outside world.
Listen in the appPhoto: Gampe · CC BY-SA 3.0
09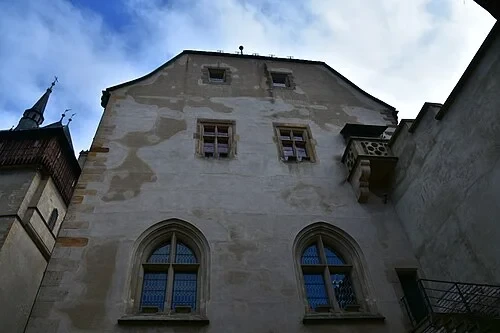 The Imperial Palace ExteriorThe Gothic Revival Facade
The exterior appearance of Karlštejn today owes a great deal to the late 19th-century restoration led by architect Josef Mocker. Between 1887 and 1899, Mocker undertook a massive project to save the castle from decay, but he did so according to the 'purist' architectural theories of his time. He removed many Renaissance and Baroque additions that had been added over the centuries, replacing them with what he believed was the 'correct' Gothic appearance. The very sharp, clean stone edges, the specific traceries in the windows, and the uniform look of the masonry reflect this 1890s vision of the Middle Ages rather than the original 14th-century reality. While some critics argue that Mocker's work was too rigid and removed authentic historical layers, his reconstruction ensured the structural survival of the fortress for future generations. If you look at the smooth plaster and the precise ornamentation on this facade, you are seeing a Victorian-era interpretation of imperial grandeur. It was during this period that the castle transitioned from a military ruin into the national monument we recognize today, celebrated as a symbol of Bohemian history and the legacy of Charles IV.
Listen in the appRichard Mortel from Riyadh, Saudi Arabia · CC BY 2.0
10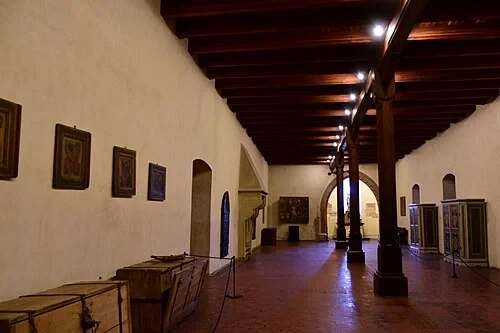 The Knight Hall and Royal QuartersThe Knight Hall
Entering the Knight Hall takes you into the most public part of the Imperial Palace. This large, rectangular room was the gathering place for the Emperor's court and his highest-ranking military protectors. Notice the massive wooden beams supporting the ceiling, which give the space its characteristic medieval weight and gravity. The room is intentionally sparse, reflecting a dignified atmosphere where the primary focus was on the inhabitants and their duties. This was not a space for frivolous luxury; it was a functional hall where councils were held and high-ranking knights kept watch. Because the Knight Hall is located near the passage leading to the more sacred Marian and Great Towers, these men served as a human layer of defense. Only those of high birth and proven loyalty would have been permitted to gather here. The architecture, with its deep window embrasures and sturdy construction, reminds us that even in the heart of the palace, safety was the paramount concern. This room acted as a buffer between the administrative areas of the castle and the private, spiritual sanctuaries that were reserved for the Emperor and his most trusted advisors.
Listen in the appRichard Mortel from Riyadh, Saudi Arabia · CC BY 2.0
Karlštejn Castle
Frequently asked questions
How much does the guide cost?
Free app download. Listed guide price: $2.99. Guide price shown in the app. Audio guide only. Venue admission is separate.
Can I listen without internet?
Yes. Download the guide’s audio, images, and maps in the app before your visit. Your downloaded content is then available offline.
Can I listen in my language?
Stanza supports 15 languages. Check the app for the languages available for this guide.
Do I need to follow a schedule?
No. This is a self-guided experience. Choose your stops, pause whenever you like, and return to a story at your own pace.
At your own pace
Explore Karlštejn Castle.
Download Stanza, then search for “Karlštejn Castle”.
Free app download · Guide price shown in the app
Keep exploring
Nearby audio guides
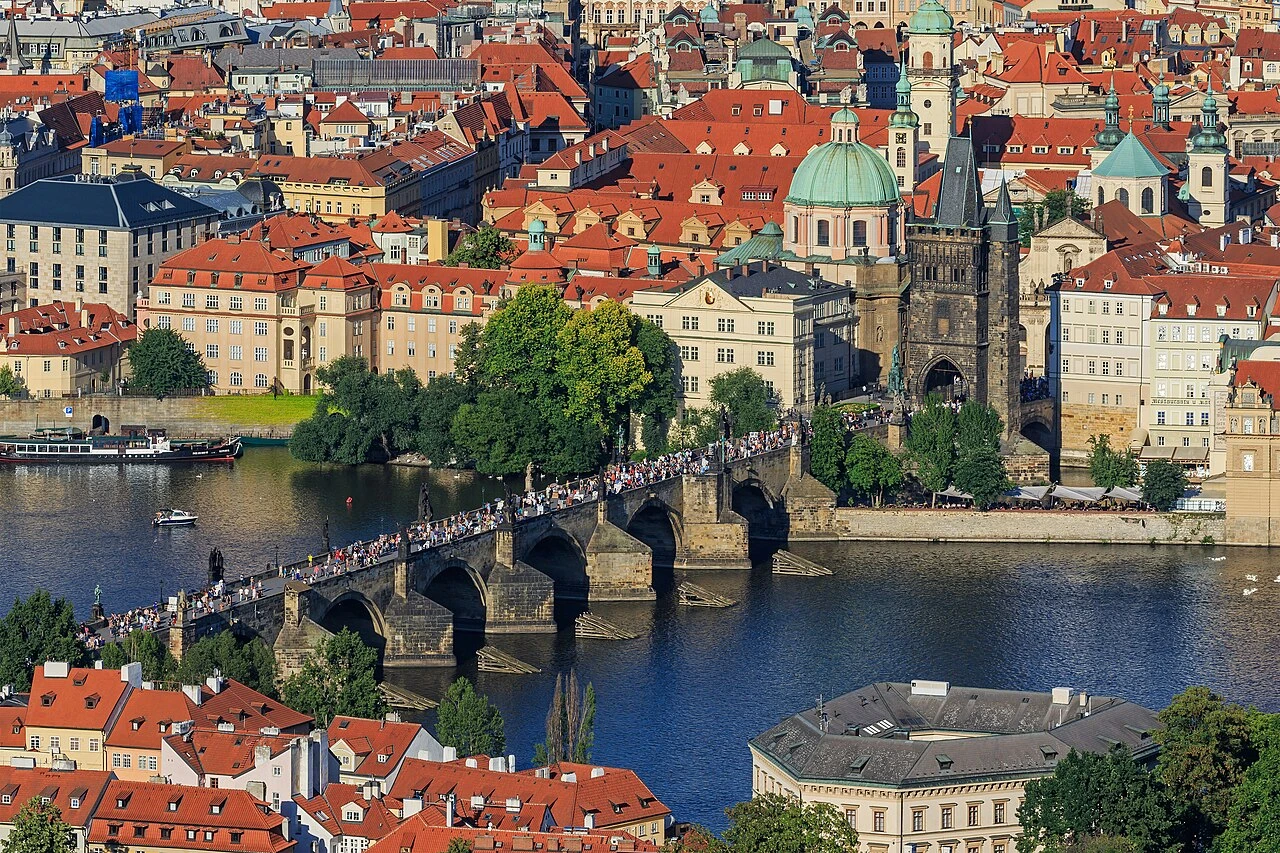
Prague
Charles Bridge
Content & sources
Photo: A.Savin · FAL
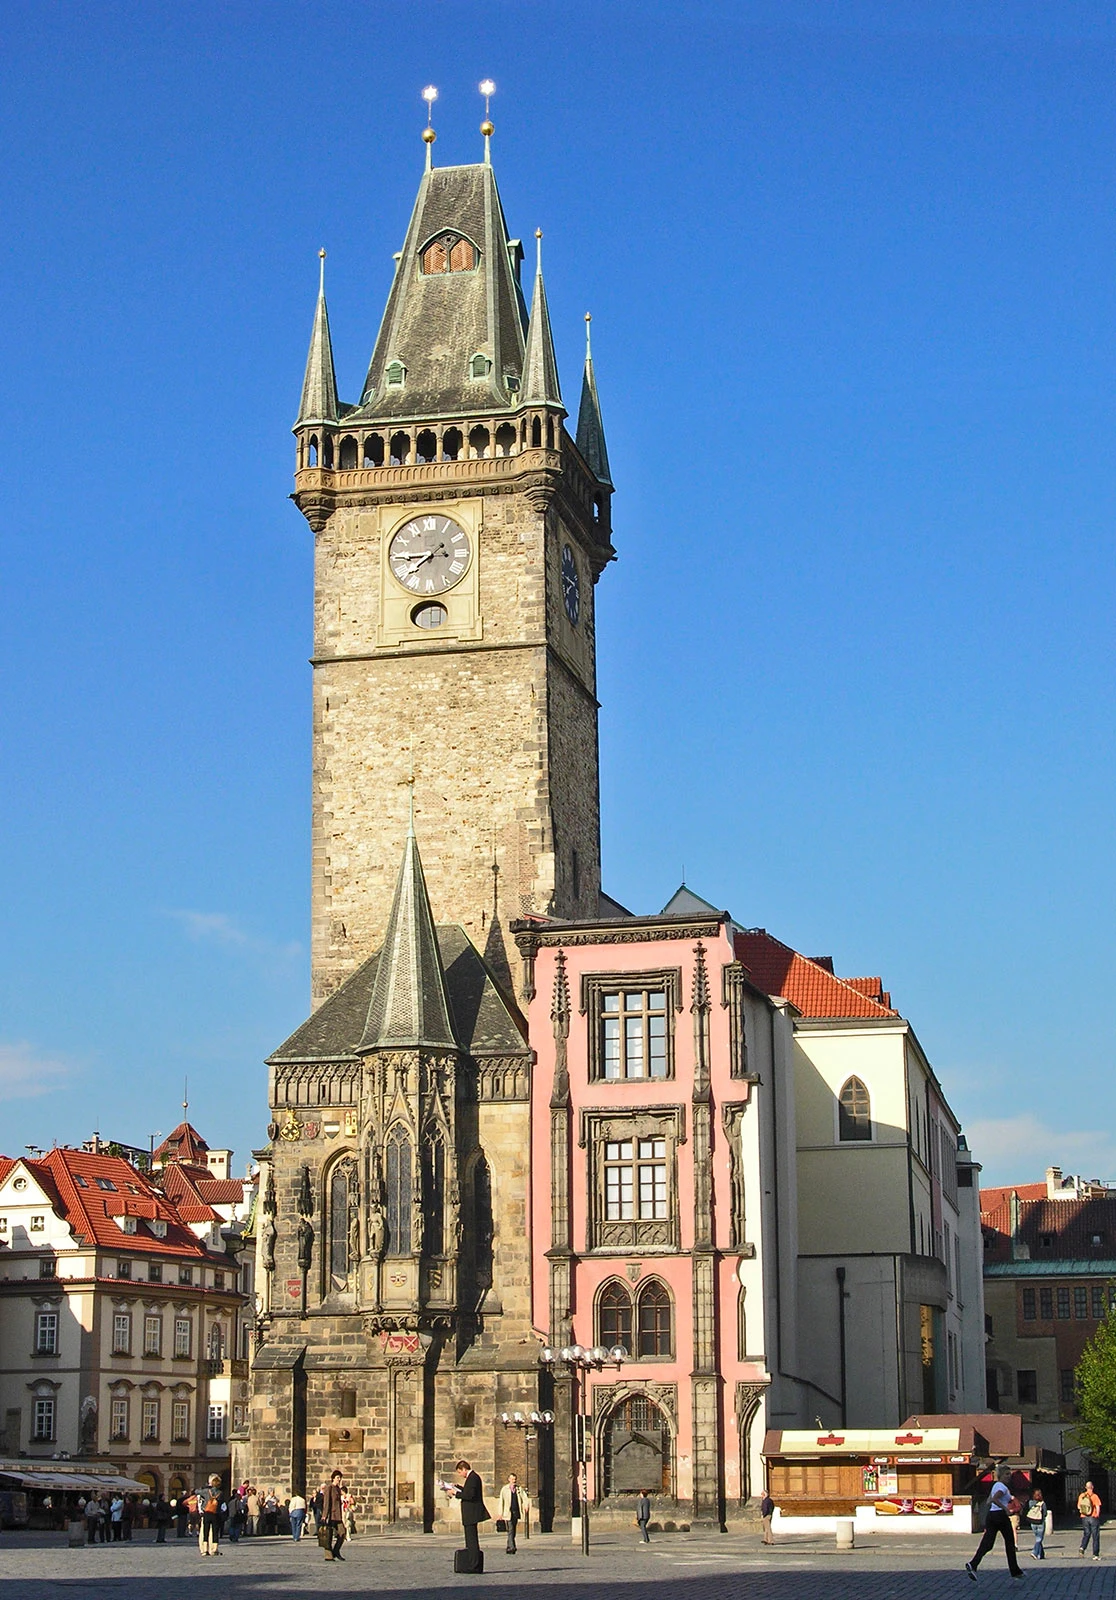
Prague
Old Town Hall
Content & sources
Hans Peter Schaefer, http://www.reserv-a-rt.de · CC BY-SA 3.0
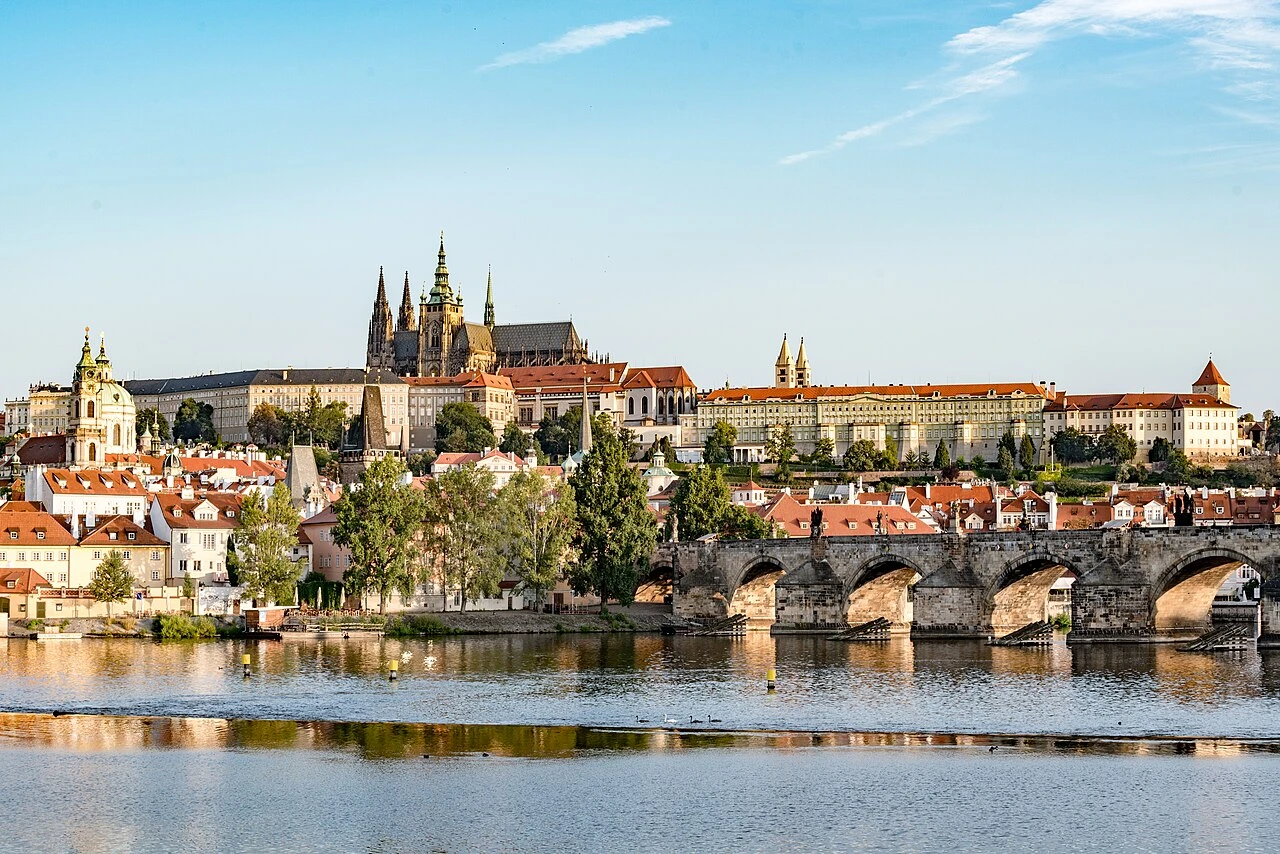
Prague
Pražský hrad
Content & sources
Photo: Tilman2007 · CC BY-SA 4.0
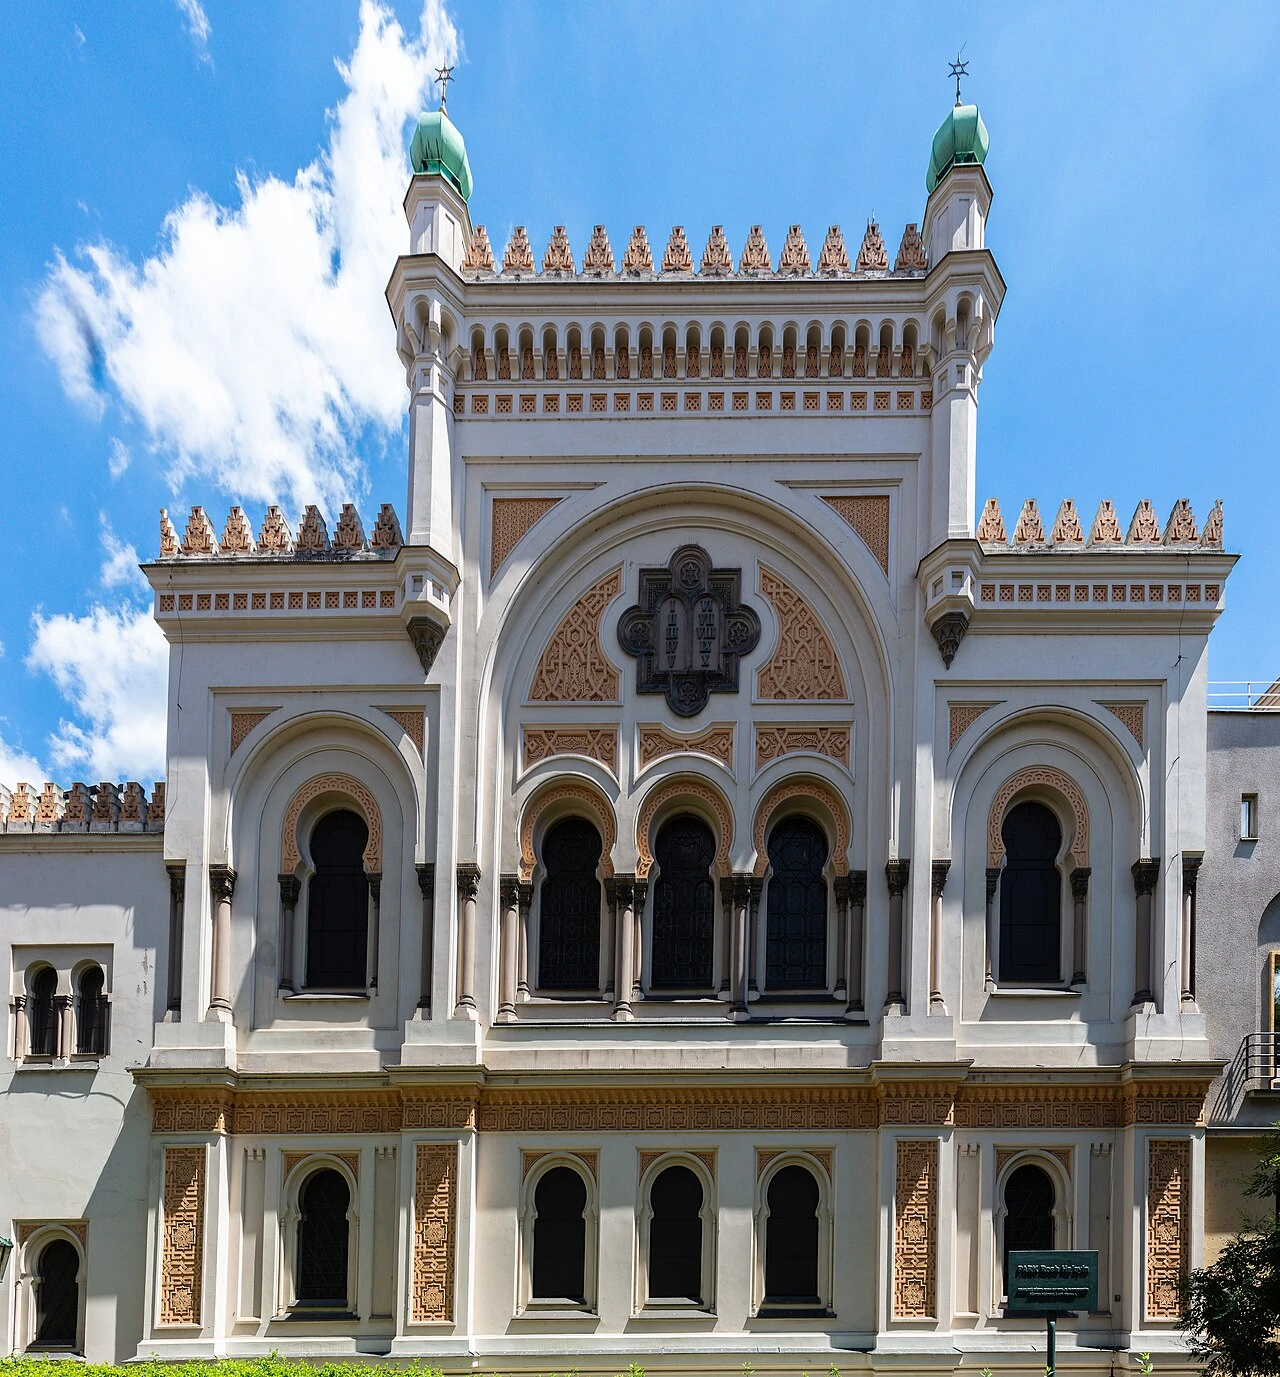
Španělská synagoga
Content & sources
Diego Delso · CC BY-SA 4.0