Stanza · Audio guide
Rila MonasteryAudio guide
A place to remember. A story to take with you.
The Rila Monastery is a prominent Eastern Orthodox monastery located in Bulgaria. It serves as a significant tourist attraction and an active religious complex.
Download Stanza, then search for “Rila Monastery”.
About the tour
One guide. Your kind of visit.
The Rila Monastery is a prominent Eastern Orthodox monastery located in Bulgaria. It serves as a significant tourist attraction and an active religious complex.
Ready when you are.
- 01Get the free Stanza app.
iOS & Android
- 02Find your guide.
“Rila Monastery”
- 03Download before you go.
Works offline
Audio guide / 15 narrated stops
Inside the guide
Get to know a few of the stories before you go. Open a stop to read more.
01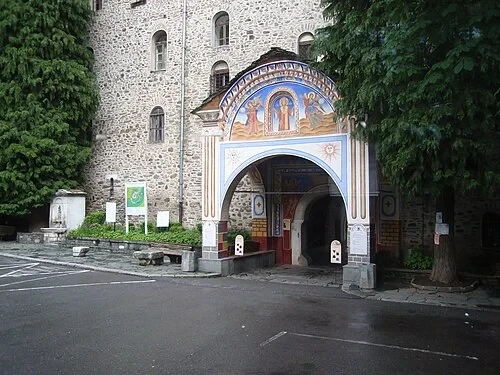 The Dupnitsa Gate and Fortress WallsThe Dupnitsa Gate
Welcome to the Rila Monastery. As you stand before the Dupnitsa Gate, the monastery’s fortress-like persona is immediately apparent. These massive stone walls and narrow, slit-like windows were not designed for aesthetics but for survival. Located high in the Rila Mountains at 1,147 meters above sea level, the monastery needed robust defenses against both harsh weather and potential invaders. This rugged, plain exterior served as a protective shell for the spiritual treasures within. The institution owes its existence to Saint Ivan of Rila, a hermit who sought solitude in these mountains during the 10th century. Over time, his followers transformed his simple retreat into a significant religious and cultural center. While the outside looks like a grim bastion, it masks the explosion of color and intricate artistry waiting inside the courtyard. This contrast reflects the monastic ideal: a quiet, humble presence in the world protecting a vibrant inner spiritual life. The gate marks the boundary between the wild mountain slopes and the hallowed grounds that have preserved Bulgarian identity for over a millennium. Notice how the thick masonry makes the entrance feel like a tunnel into another era.
Photo: Galabova · CC BY-SA 4.0
02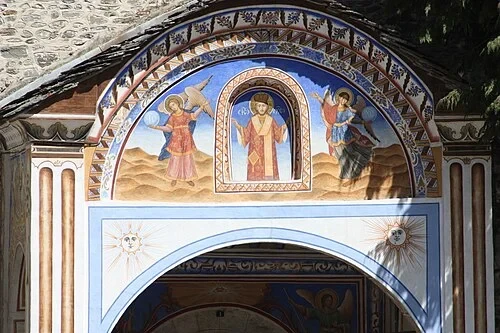 The Dupnitsa Gate and Fortress WallsSaint Ivan Archway
The archway serves as a symbolic bridge between the secular mountain world and the sacred space of the monastery. Looking up, you see the central niche featuring a depiction of Saint Ivan of Rila, the monastery's founder, flanked by watchful angels. This artwork emphasizes the spiritual protection over those who enter the grounds. While Ivan himself lived in a nearby cave, his dedicated students began constructing the first permanent buildings here to accommodate the growing community of monks. The design elements on the white pillars include distinct sun and moon motifs. These celestial symbols signal a transition into a sanctuary where time is measured by liturgy rather than the mundane world. The use of bright blues and earthy tones in the fresco work here provides a foretaste of the extensive mural cycles found further inside. Each brushstroke on this arch was intended to prepare the minds of pilgrims for the sights to come. The archway doesn't just support the structure above; it frames the first clear view of the inner courtyard. Look closely at the delicate patterns bordering the central figures, which reflect traditional Bulgarian ornamental styles.
Apostoloff · CC BY-SA 3.0
03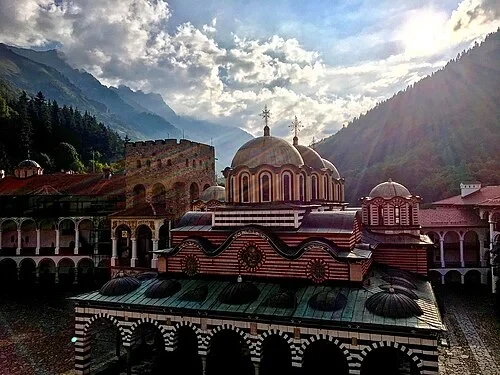 The Inner Courtyard and Residential WingsMain Courtyard Panorama
The scale of the inner courtyard often takes visitors by surprise, offering a dramatic contrast to the fortress walls passed moments ago. Spanning 3,200 square meters, this space is the heart of an 8,800-square-meter complex. The architecture is a definitive example of the Bulgarian National Revival style, which flourished during the 18th and 19th centuries. You can see this aesthetic in the rhythmic repetition of striped arches and the intricately carved wooden balconies that line the perimeter. These design choices weren't just about beauty; they represented a reawakening of national identity through art and architecture. Because of its outstanding cultural significance and preserved integrity, the monastery was designated a UNESCO World Heritage site in 1983. It is widely considered a masterwork of the era, showcasing the skills of Bulgarian craftsmen who worked under Ottoman rule. The courtyard functions as a communal stage, connecting the residential quarters with the central church and the ancient tower. The stones under your feet have been smoothed by centuries of pilgrims visiting from across the Balkans. Small wooden carvings of suns and flowers are tucked into the eaves of the topmost balconies.
Listen in the appPhoto: Brianagervat · CC BY-SA 4.0
04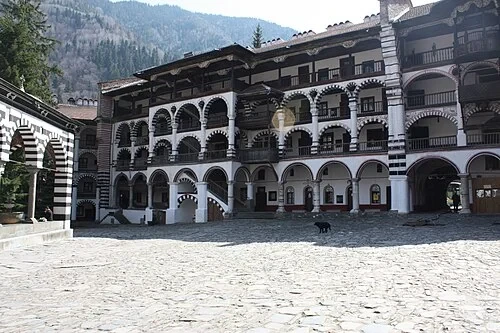 The Inner Courtyard and Residential WingsThe Residential Wings
The four-story wings surrounding the courtyard provided the necessary infrastructure for a thriving monastic city. Within these walls are 300 individual chambers, once filled with monks and visiting pilgrims. Most of the residential structures you see today were constructed between 1834 and 1862. This massive rebuilding project was led by the architect Alexi Rilets following a catastrophic fire in 1833 that leveled many of the previous buildings. Rilets utilized the black-and-white striped masonry that has since become the monastery’s most recognizable visual signature. This bold pattern helps break up the massive scale of the walls, giving them a lighter, more rhythmic appearance. Each level of the residential wings features deep wooden galleries that provided shade in the summer and a covered walkway during the snowy mountain winters. These balconies allowed monks to move between their cells and communal spaces like the refectory and library. While the rooms were simple and meant for contemplation, the exterior galleries were built with grand architectural flourishes. Small chimneys dot the roofline, indicating the fireplaces used to heat the cells during the freezing Rila winters. The sheer height of these wings emphasizes the monastery's role as a self-contained world.
Listen in the appApostoloff · CC BY-SA 3.0
05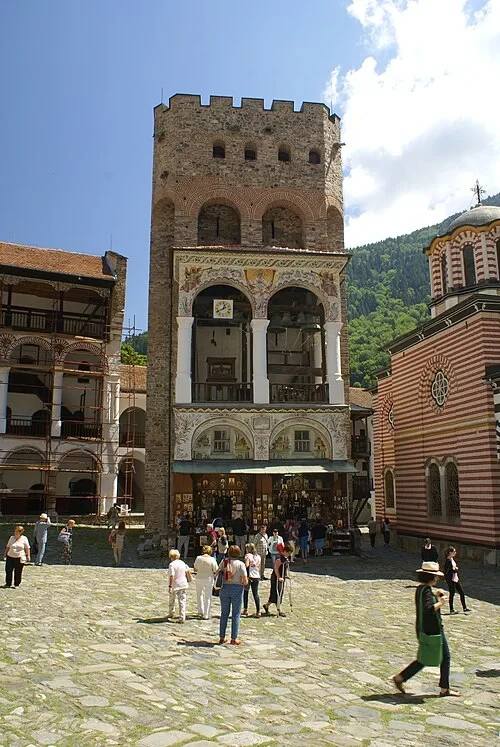 The Tower of HreljaThe Tower of Hrelja
Amidst the 19th-century buildings of the courtyard, the Tower of Hrelja stands as a rugged remnant of the Middle Ages. Built in 1334 by the local feudal lord Hrelja, this 23-meter-tall stone structure was designed primarily for defense. It served as a watchtower to monitor the surrounding mountain passes and as a final refuge for the monks if the monastery walls were breached. The thick stone masonry and minimal openings near the ground level emphasize its role as a fortress. Interestingly, the tower served a spiritual purpose alongside its defensive one. The very top floor houses a small chapel dedicated to the Transfiguration of God. This allowed the monastic community to continue their daily cycle of prayer and liturgy even while under siege or during times of great danger. The architectural style is much more utilitarian than the surrounding Revival-style buildings, reflecting the precarious nature of life in 14th-century Bulgaria. Small battlements at the top allowed defenders to look down upon the courtyard. Unlike the rest of the complex, which has seen several reconstructions, the tower remains largely as it was nearly seven centuries ago. Its weathered stones bear the marks of the many mountain storms it has weathered.
Listen in the appPhoto: MiroValach-Magnum · CC0
06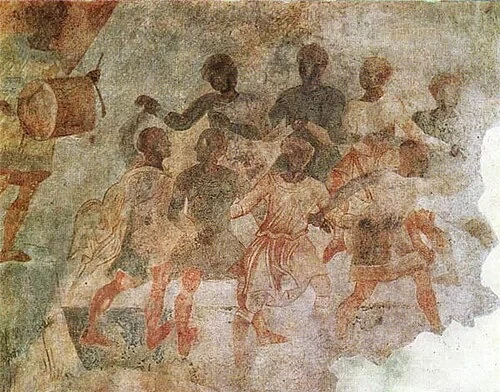 The Tower of HreljaThe Medieval Dancers Mural
While the monastery is famous for its religious icons, the Tower of Hrelja contains a surprising artistic outlier. High on its walls, you can find a rare secular fresco dating from the 14th century. Unlike the solemn saints found elsewhere, this mural depicts a group of ordinary people engaged in a traditional chain dance, accompanied by figures playing drums. It provides an invaluable human glimpse into the social life and folk traditions of medieval Bulgaria. These figures are dressed in the attire of the period, showing the types of garments and instruments used by common citizens during the time of the Second Bulgarian Empire. The presence of such a secular scene in a defensive tower suggests that the space may have served multiple roles beyond just military and religious functions. These images survived the long centuries of Ottoman rule, preserving a visual record of Bulgarian culture that predates the National Revival period. The style of the figures is flatter and more stylized than the later frescoes in the main church, consistent with the Byzantine-influenced art of the 1330s. This small fragment of wall painting serves as a reminder that the monastery was not just a place of quiet prayer, but a repository of the nation's broader cultural heritage.
Listen in the appunknown artist, Bulgaria, 14th century · Public domain
07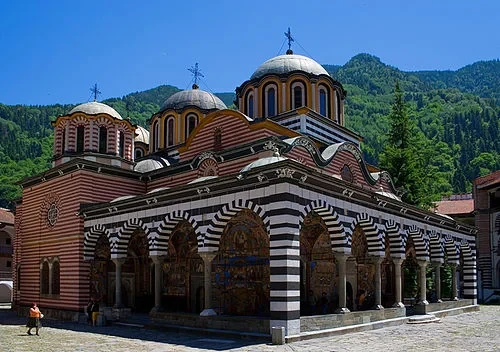 The Portico of the Main ChurchChurch of the Nativity
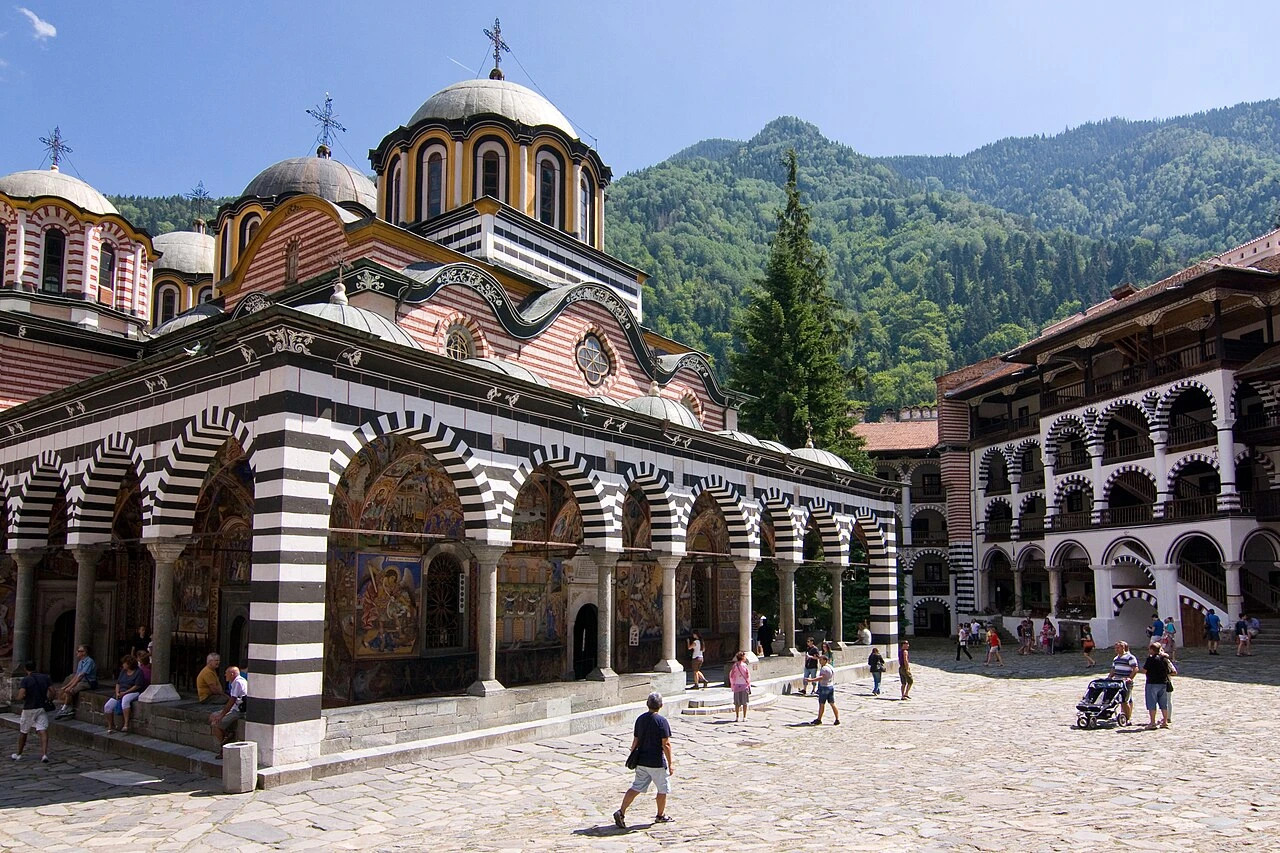
Standing as the centerpiece of the courtyard, the Church of the Nativity was designed by the architect Pavel Ioanov and finished in 1837. Its structure is distinctive, crowned by five silver-domed cupolas that catch the mountain light. The building also features three altar niches, allowing for multiple services. One of the most significant architectural features is the open gallery, or portico, that wraps around the exterior of the church. This space was intentionally designed to accommodate the massive crowds of pilgrims who traveled here during major feast days. By creating this sheltered outdoor area, the architect ensured that visitors could see the vibrant frescoes and participate in the spiritual atmosphere without overcrowding the interior of the sanctuary. The arches of the portico mirror the striped patterns seen on the residential wings, tying the entire complex together into a unified visual experience. The roofline is complex, with various levels and domes creating a sense of movement. Above the central entrance, the domes rise in a hierarchical fashion, drawing the eye upward. This church replaced a much smaller medieval structure, reflecting the growing importance and wealth of the monastery during the 19th-century Bulgarian National Revival. The exterior walls are almost entirely covered in color, serving as a prelude to the icons found within.
Listen in the appRusalina · CC BY-SA 3.0
08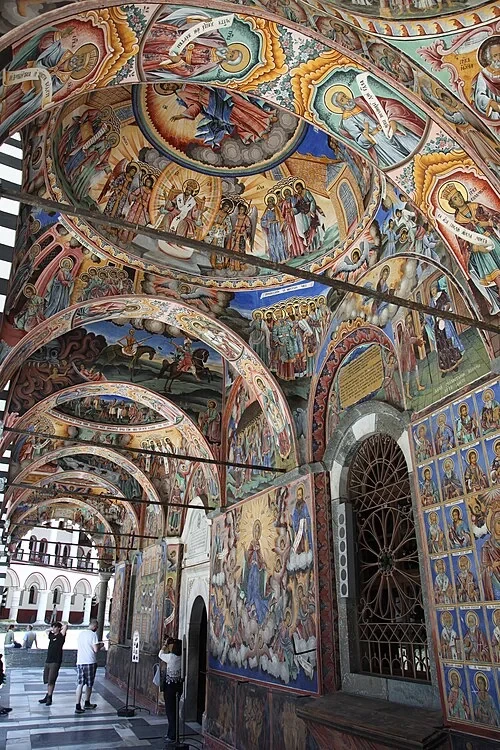 The Portico of the Main ChurchThe Painted Galleries
The exterior of the main church is a sprawling canvas, covered in roughly 1,200 square meters of intricate frescoes. These paintings were executed using the 'buon fresco' technique, where pigments are applied directly onto wet lime plaster. As the plaster dries, a chemical reaction occurs that fuses the paint into the wall itself, ensuring the colors remain vivid for centuries despite the mountain air. Zahari Zograf, the most celebrated master of the Samokov school of painting, led the team of artists who worked here. In an era when many pilgrims were illiterate, these walls served as a 'visual Bible.' The scenes were meticulously organized to teach the stories of the Old and New Testaments, the lives of the saints, and complex theological concepts through imagery alone. The sheer volume of detail is staggering, from the expressions on the faces of individual figures to the patterns on their clothing. The choice of bright blues, rich reds, and gold leaf makes the walls seem to glow when hit by the sun. Walking through these galleries was intended to be an educational and spiritual journey for the visitor, moving through the history of the faith before entering the church itself. Notice how the paintings extend from the floor all the way up into the curves of the vaulted ceiling.
Listen in the appHans A. Rosbach · CC BY-SA 3.0
09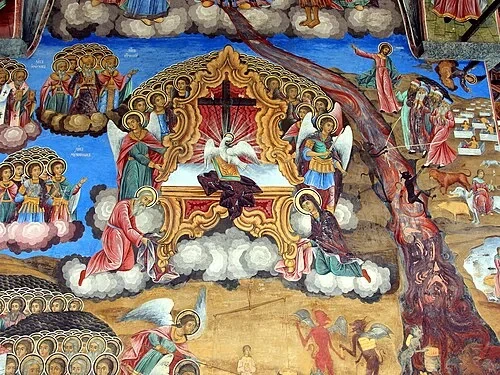 The Portico of the Main ChurchThe Final Judgment Mural
One of the most compelling and terrifying scenes in the painted galleries is the depiction of the Last Judgment. This large-scale composition illustrates the traditional Orthodox vision of the end of time. You can see angels meticulously weighing souls on scales, while a fiery river sweeps the condemned toward waiting demons. The artist, Zahari Zograf, used this religious scene to weave in sharp social commentary on contemporary life. Among the sinners being led to punishment, he specifically included figures recognizable to the local population, such as greedy tax collectors and dishonest merchants who cheated their neighbors. By placing these real-world figures in the fires of hell, Zograf was delivering a powerful moral message to the pilgrims. The upper portions of the mural show the heavenly realm, where the righteous sit in orderly ranks, contrasting with the chaotic and crowded scenes of the underworld below. The demons are painted with grotesque features and dark colors, emphasizing their malevolent nature. This specific mural was often the one that made the deepest impression on visitors, serving as a reminder of the consequences of one's earthly actions. Notice the contrast between the dark, scaly skins of the demons and the bright, haloed figures of the saints above.
Listen in the appPhoto: Mark Ahsmann · CC BY-SA 4.0
10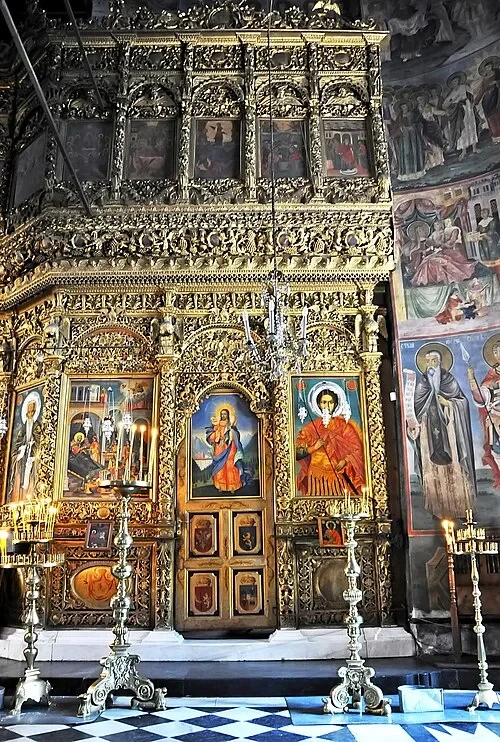 The Golden IconostasisThe Golden Iconostasis
Entering the church leads you to its spiritual and artistic climax: the massive iconostasis. This gold-plated wall of wood carvings separates the sanctuary from the main nave. It is a monumental achievement of the Samokov wood-carving school, taking four master carvers five years of continuous labor to complete. The surface is a dense thicket of detail, featuring hundreds of intricate floral and animal motifs intertwined with religious scenes. There are over 100 icons integrated into the structure, each one a significant work of art in its own right. The central icons, which are the most prominent, were painted by distinguished Bulgarian masters of the 19th century, including Ivan Obrazopisov. The use of gold leaf was intended to reflect the candlelight and create a sense of divine light within the space. The carvings are deep and three-dimensional, giving the entire wall a sense of organic life. If you look closely at the lower panels, you can spot miniature birds, lions, and griffins hidden among the vines and leaves. This iconostasis is one of the largest and most complex in the Balkans, representing the peak of Bulgarian wood-carving tradition. It serves as a visual boundary between the earthly world of the congregation and the sacred space behind the altar.
Listen in the appDennis G. Jarvis · CC BY-SA 2.0
Rila Monastery
Frequently asked questions
How much does the guide cost?
Free app download. Listed guide price: $1.99. Guide price shown in the app. Audio guide only. Venue admission is separate.
Can I listen without internet?
Yes. Download the guide’s audio, images, and maps in the app before your visit. Your downloaded content is then available offline.
Can I listen in my language?
Stanza supports 15 languages. Check the app for the languages available for this guide.
Do I need to follow a schedule?
No. This is a self-guided experience. Choose your stops, pause whenever you like, and return to a story at your own pace.
At your own pace
Explore Rila Monastery.
Download Stanza, then search for “Rila Monastery”.
Free app download · Guide price shown in the app
Keep exploring
Nearby audio guides
Sofia
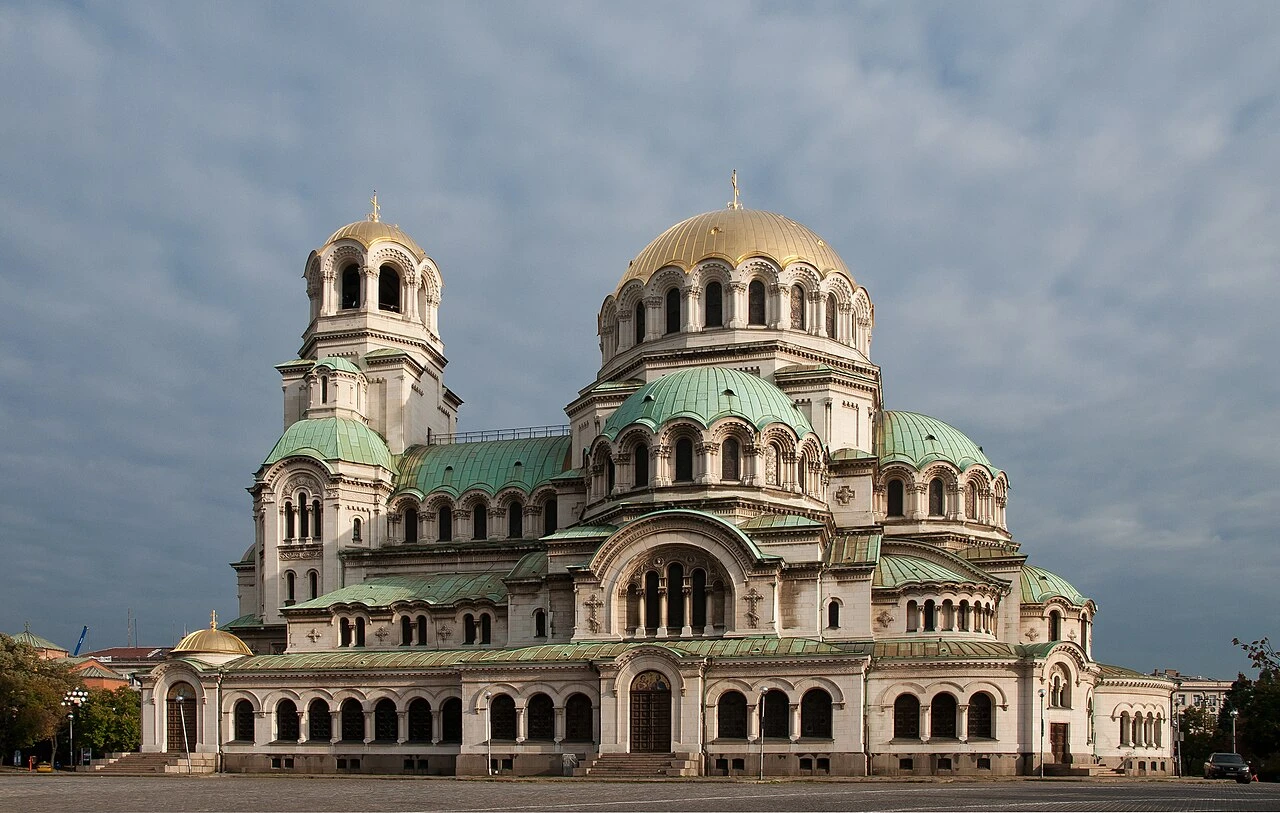
Alexander Nevsky Cathedral
Content & sources
Plamen Agov (user:MrPanyGoff) · CC BY-SA 4.0
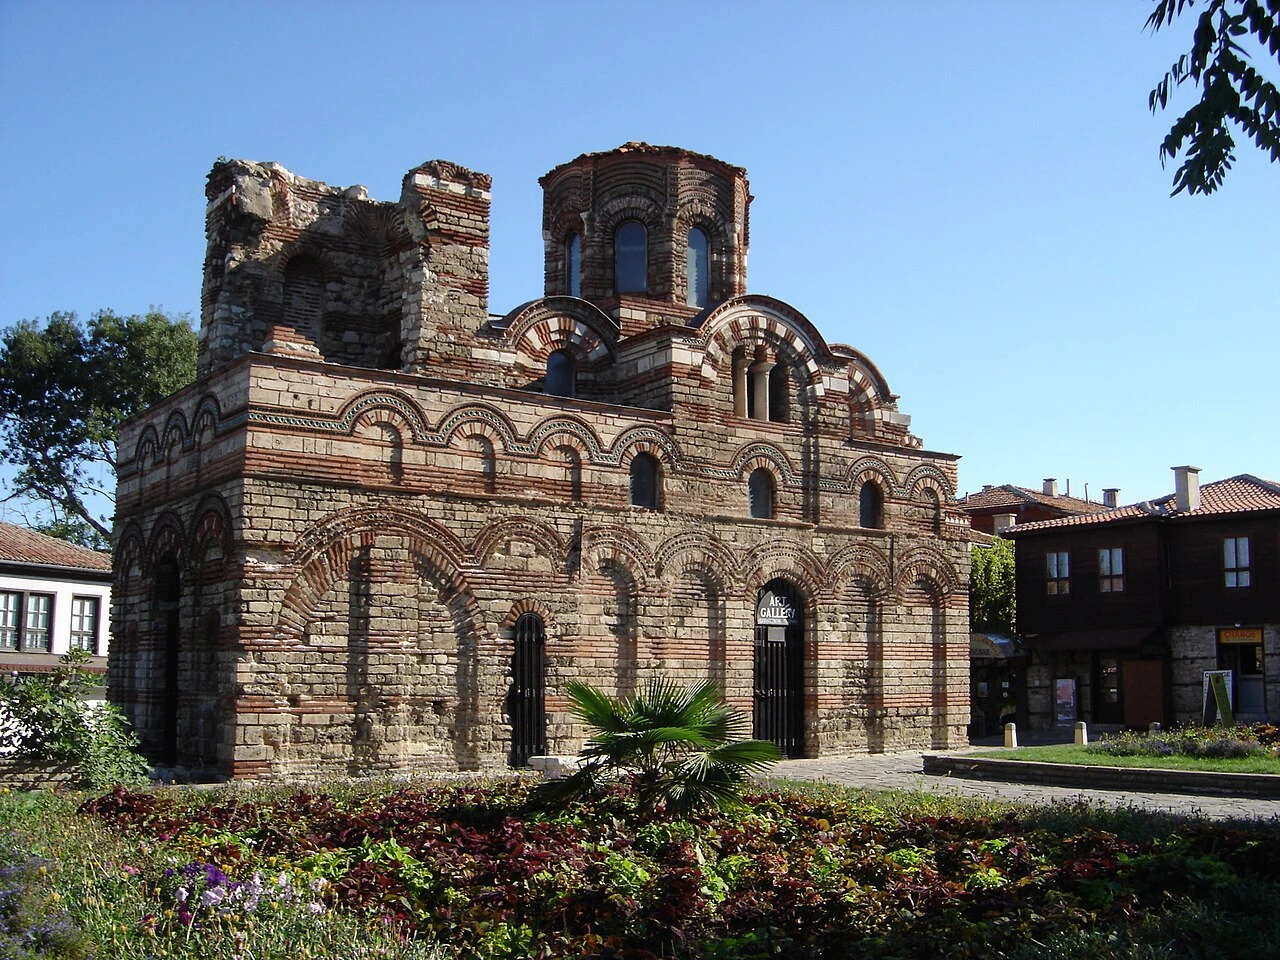
Nesebar
Ancient City of Nessebar
Content & sources
Photo: Gérard Janot · CC BY-SA 3.0
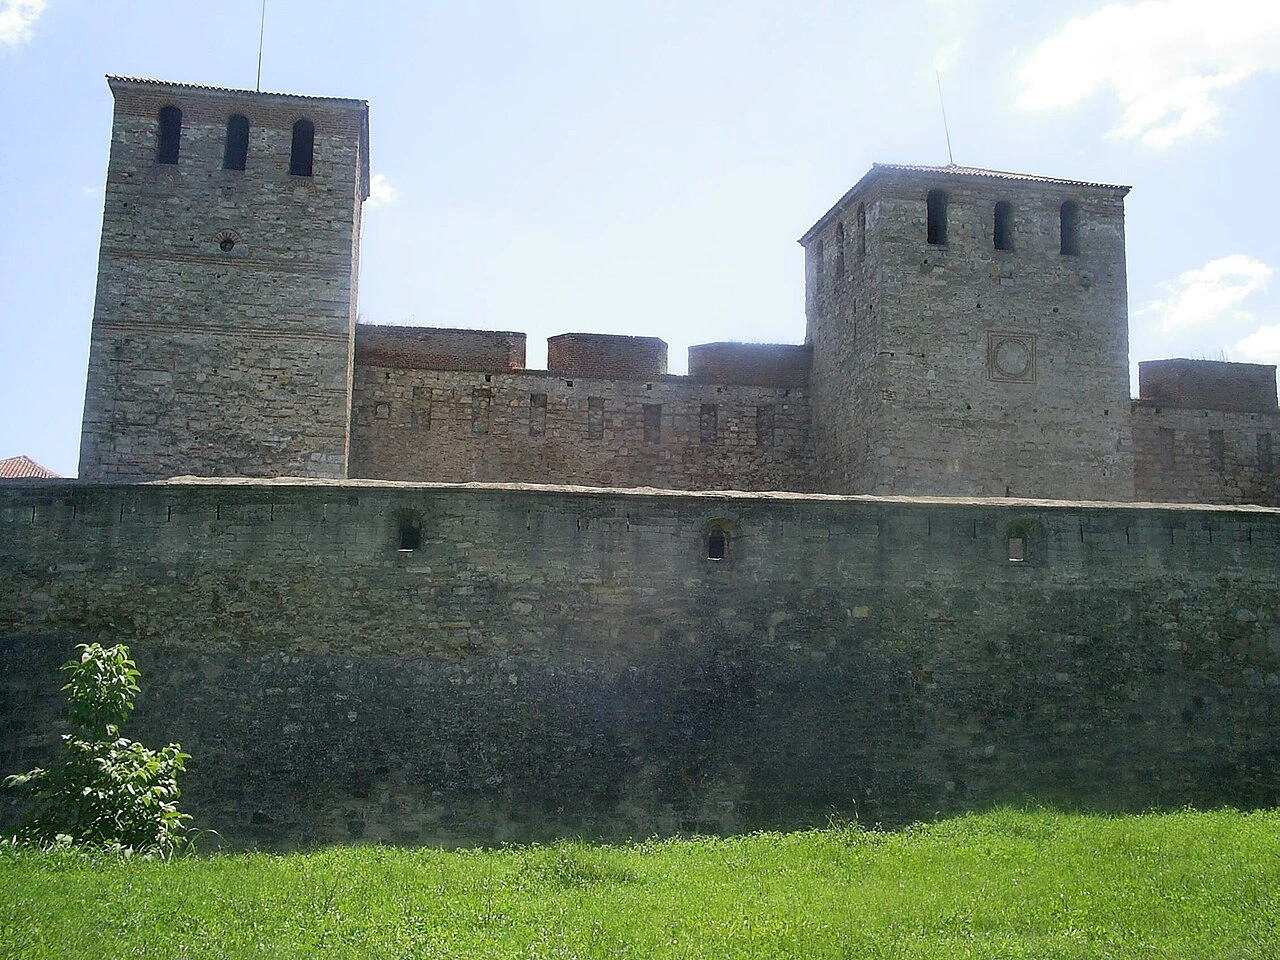
Vidin
Baba Vida Fortress
Content & sources
Photo: Martyr · CC BY-SA 3.0
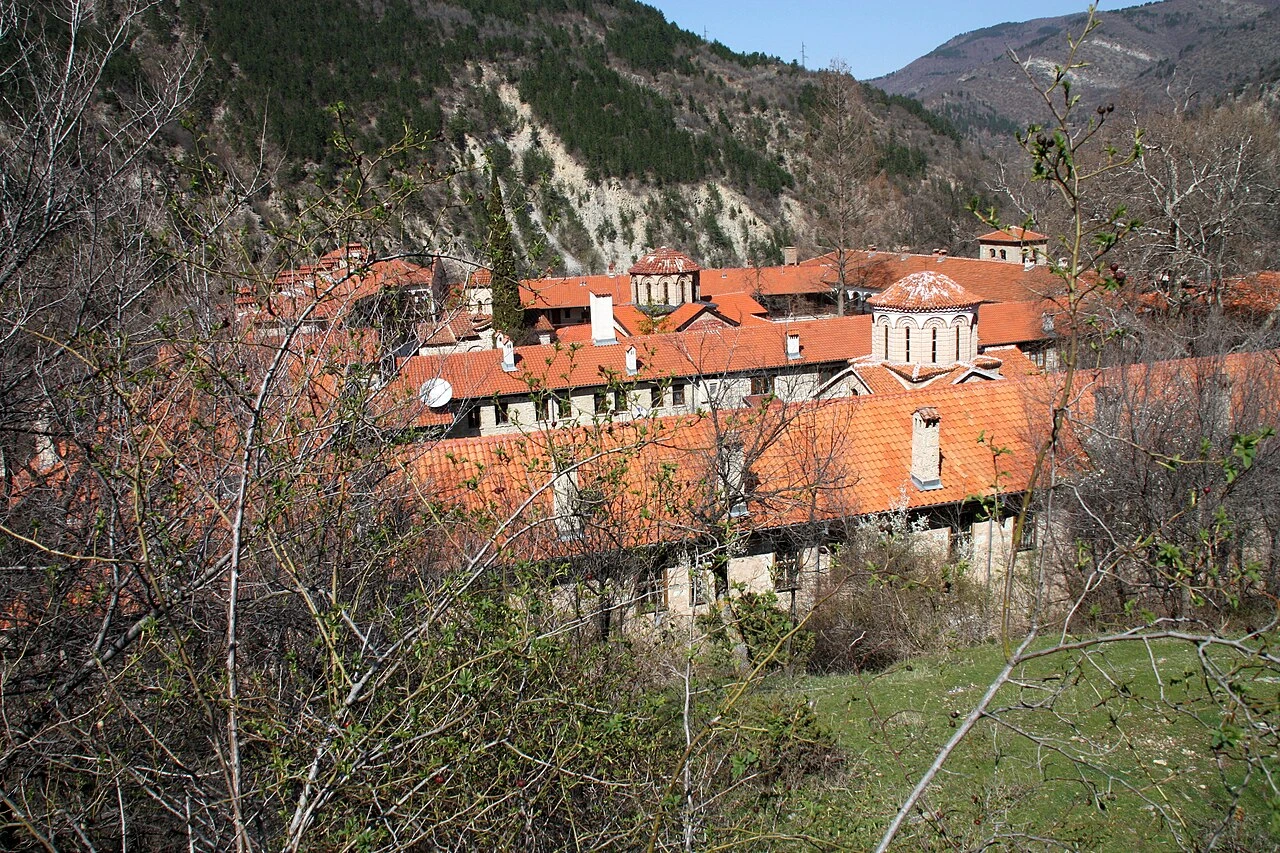
Bachkovo
Bachkovo Monastery
Content & sources
Photo: Reneman · CC BY 2.0 de