Languages
15Castelo de Castelo de Vide Audio Guide
Castelo de Castelo de Vide is a landmark in Castelo de Vide, Portugal. Explore it with Stanza's GPS-triggered offline audio guide — available in 15 languages.
Quick Facts
15
Stops
15
Languages
100%
Offline
📍 Castelo de Vide, Portugal · 39.4178°N, -7.4579°E
About Castelo de Castelo de Vide
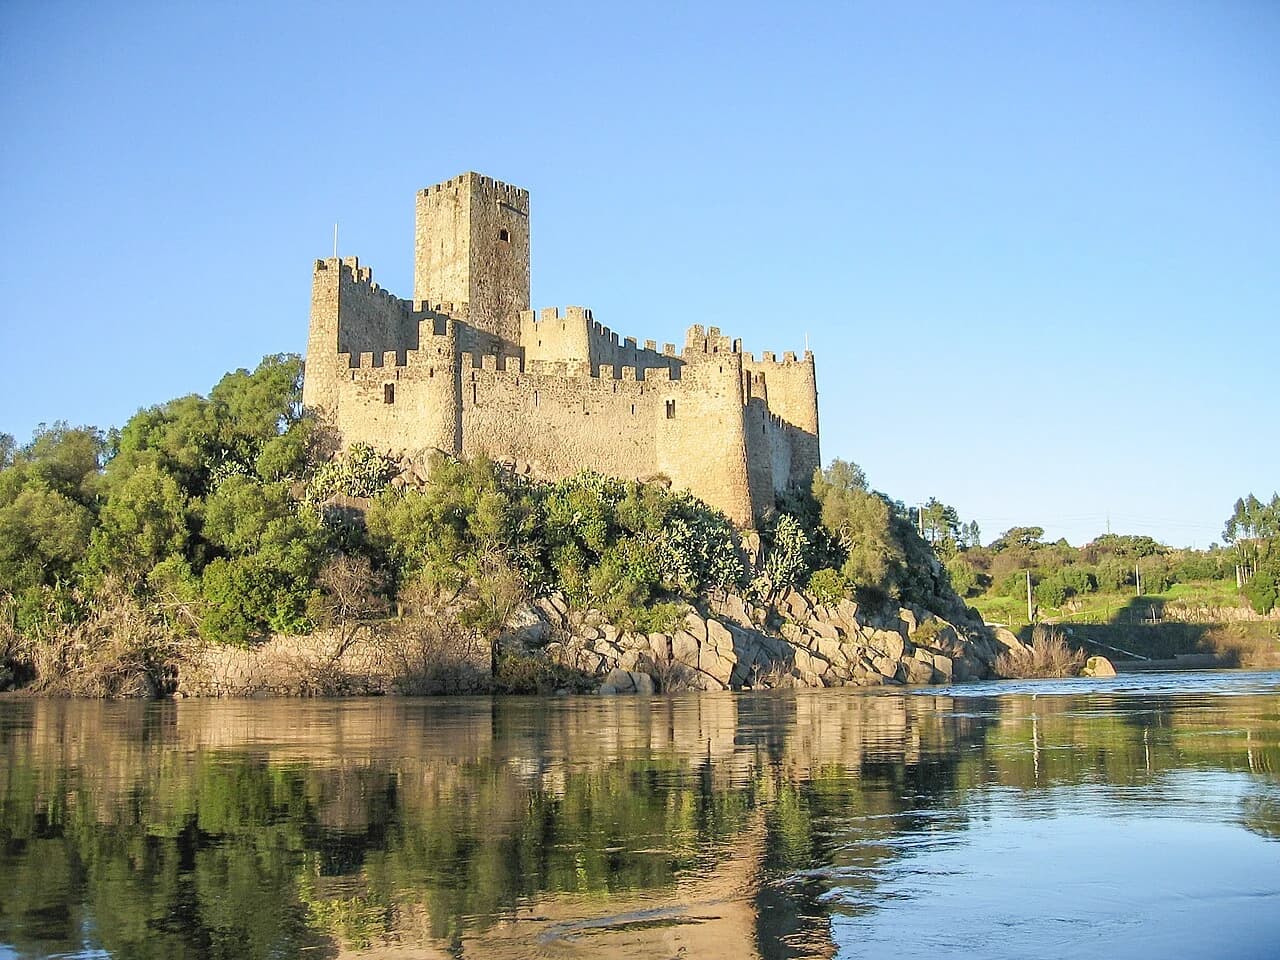
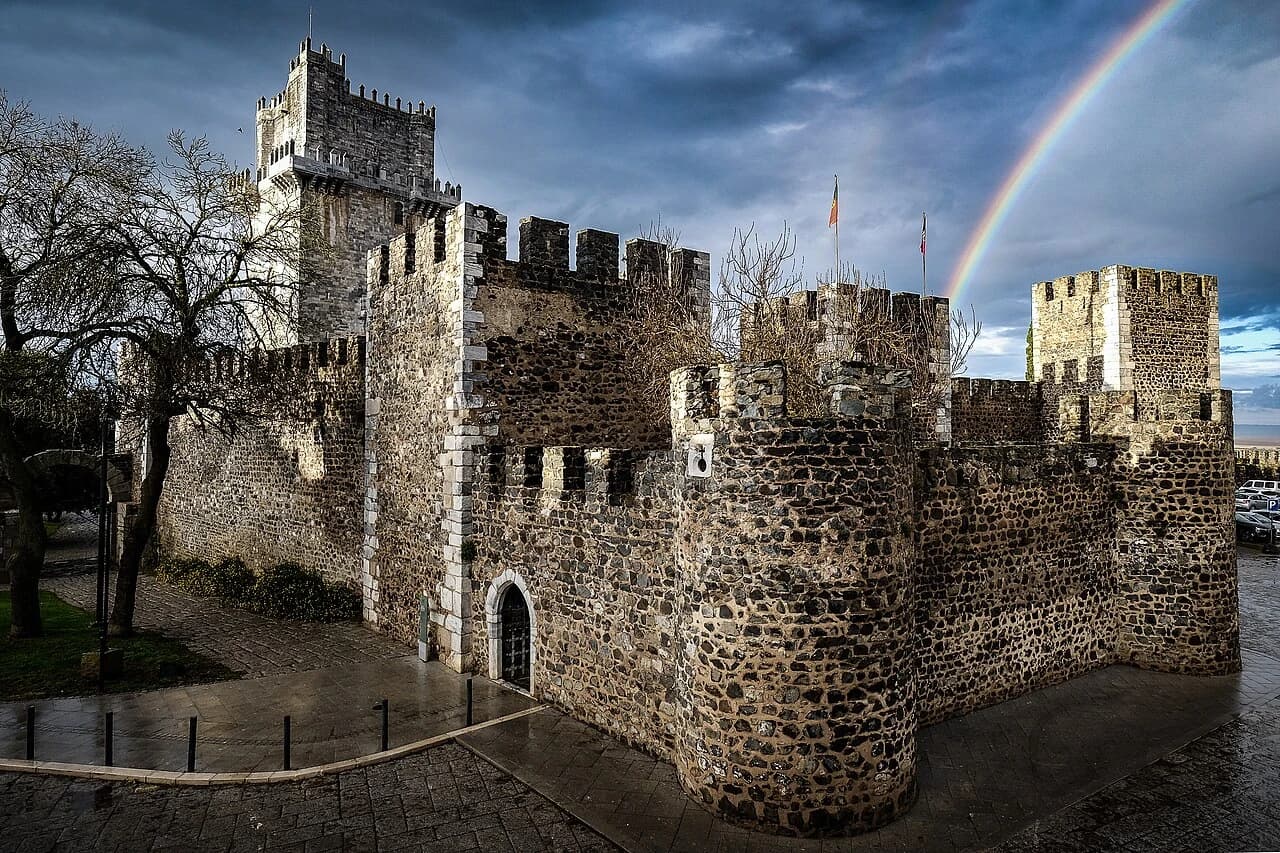
This medieval castle is a prominent defensive fortification located in the Alentejo region, overlooking the historic town of Castelo de Vide. It features well-preserved stone walls and towers dating back to the 13th and 14th centuries.
Castelo de Castelo de Vide is also known as Castelo de Castelo de Vide, Castelo de castelo de vide.
This self-guided audio tour features 15 narrated stops organized across 7 sections. As a castle, Castelo de Castelo de Vide offers a unique cultural experience in the heart of Castelo de Vide, Portugal.
The Stanza audio guide is available in 15 languages and works entirely offline — download the complete tour including audio narration, maps, and images before your visit. As you walk through Castelo de Castelo de Vide, GPS-triggered narration plays automatically at each point of interest.
Last updated:
What you will hear
Main Entrance and the Castle Gate
Establishing the arrival at the fortress. Using a wide shot of the main tower and the approach path to set the scene of the 'Sintra of the Alentejo'.

The Cobbled Approach
Follow the winding, uneven stone path that leads deeper into the fortress. These cobblestones are more than just a rustic walkway; they represent the first line of psychological and physical defense. The fortification work here was completed around 1327 during the reign of King Afonso IV, making this one of the oldest and best-preserved medieval approaches in the entire region. Notice how the path leads toward a narrow archway. This was a deliberate architectural choice designed to create a bottleneck. In the event of a siege, a large invading force would be forced to thin their ranks, making them easy targets for defenders stationed above. The tight space prevented the use of large battering rams and limited the number of enemies who could engage at once. Every turn and incline was calculated to give the home garrison the advantage. Centuries of use have smoothed the edges of these granite stones, yet the original defensive layout remains perfectly clear, illustrating the brutal reality of 14th-century warfare where the terrain itself was a weapon.
The Plaza of Arms
The central hub of military life. I chose a high-angle view to show the scale of the courtyard and a ground-level shot to show the surrounding walls.

The Plaza of Arms
This open green space, known as the Plaza of Arms, served as the central hub for military life within the fortress. It was here that a garrison of up to 600 soldiers would muster for drills and inspections, particularly during the Restoration War in 1660. At that time, the castle was a hive of activity, with men, horses, and equipment constantly moving through this courtyard. Encircling the space are thick stone walls and several 'cubelo' towers. Notice the single circular tower visible from this spot. Military engineers favored these curved surfaces because they were far more effective at deflecting incoming projectiles than flat walls. A cannonball or a stone from a catapult was more likely to glance off a rounded tower, causing minimal damage, whereas a flat wall would absorb the full impact. During times of peace, this courtyard would have been used for storage and daily chores, but in times of war, it was the final staging ground for the men tasked with holding the line against the Kingdom of Castile. The silence of the green grass today belies its history as a place of intense preparation and military discipline.

The Upper Ward Rooftops
This elevated perspective provides a clear understanding of the castle’s primary purpose: protecting the people and the frontier. Below you, the characteristic orange-tiled roofs of the structures within the walls huddle together, a visual reminder of the community that lived under the castle’s shadow. To one side stands a medieval circular tower, its rounded form representing an evolution in stone defense. This curved shape was harder to undermine and provided better sightlines than traditional square designs. Looking out past the battlements, the landscape transitions into the expansive Alentejo plains. While the scenery today appears peaceful and modern, for centuries it was a contested borderland. The fortress acted as a shield for the town, providing a refuge for citizens whenever invading forces crossed the horizon. The vast horizon allowed sentries to spot approaching dust clouds from miles away, giving the town ample time to retreat behind the safety of the granite walls. This relationship between the high stone ward and the open land defined the survival of this community through countless conflicts.
The Medieval Keep
The heart of the 14th-century power. Images focus on the exterior height and the interior vaulted ceiling, which relates to the 1705 explosion story.

The Medieval Keep
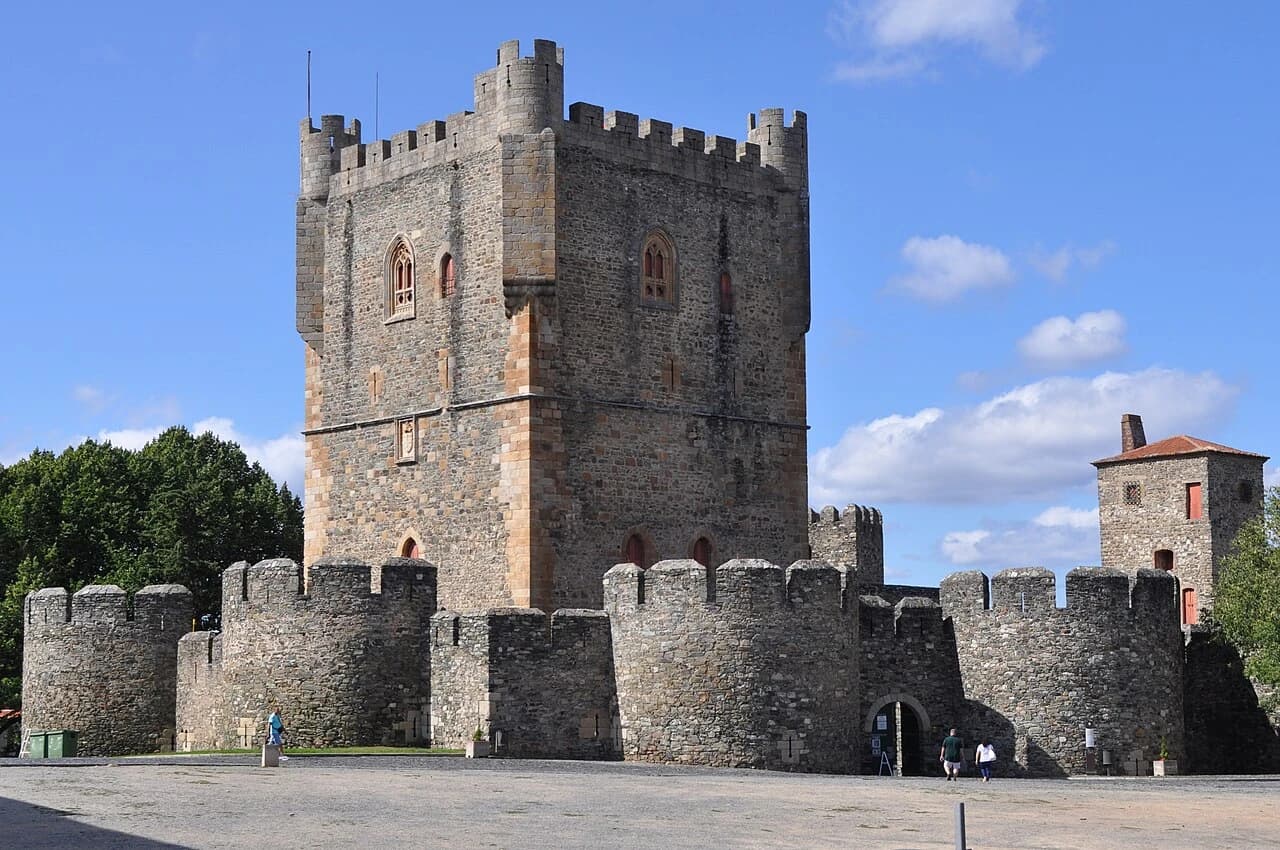
The square keep is the heart of the castle's power, a massive tower designed to be the final refuge if the outer walls were breached. Its thick granite walls were built to withstand the most determined sieges, yet the most significant damage it ever sustained came from within. In 1705, during the War of the Spanish Succession, a catastrophic gunpowder explosion occurred inside the structure. The blast was so powerful that it tore through the upper levels and nearly destroyed the vaulted ceilings. Despite this tragedy, the lower levels remained remarkably intact. You can still see the small, high-set windows that pierce the granite. These were essential for providing light and ventilation to the rooms inside while maintaining the building's defensive integrity. A larger window would have been a weakness that an enemy could exploit. Following the explosion, the tower was partially repaired, but the scars of 1705 remain a permanent part of its history. It stands today as a testament to both the strength of medieval masonry and the volatile nature of the early modern warfare that eventually rendered these stone giants obsolete.
The Battlements and Watchtowers
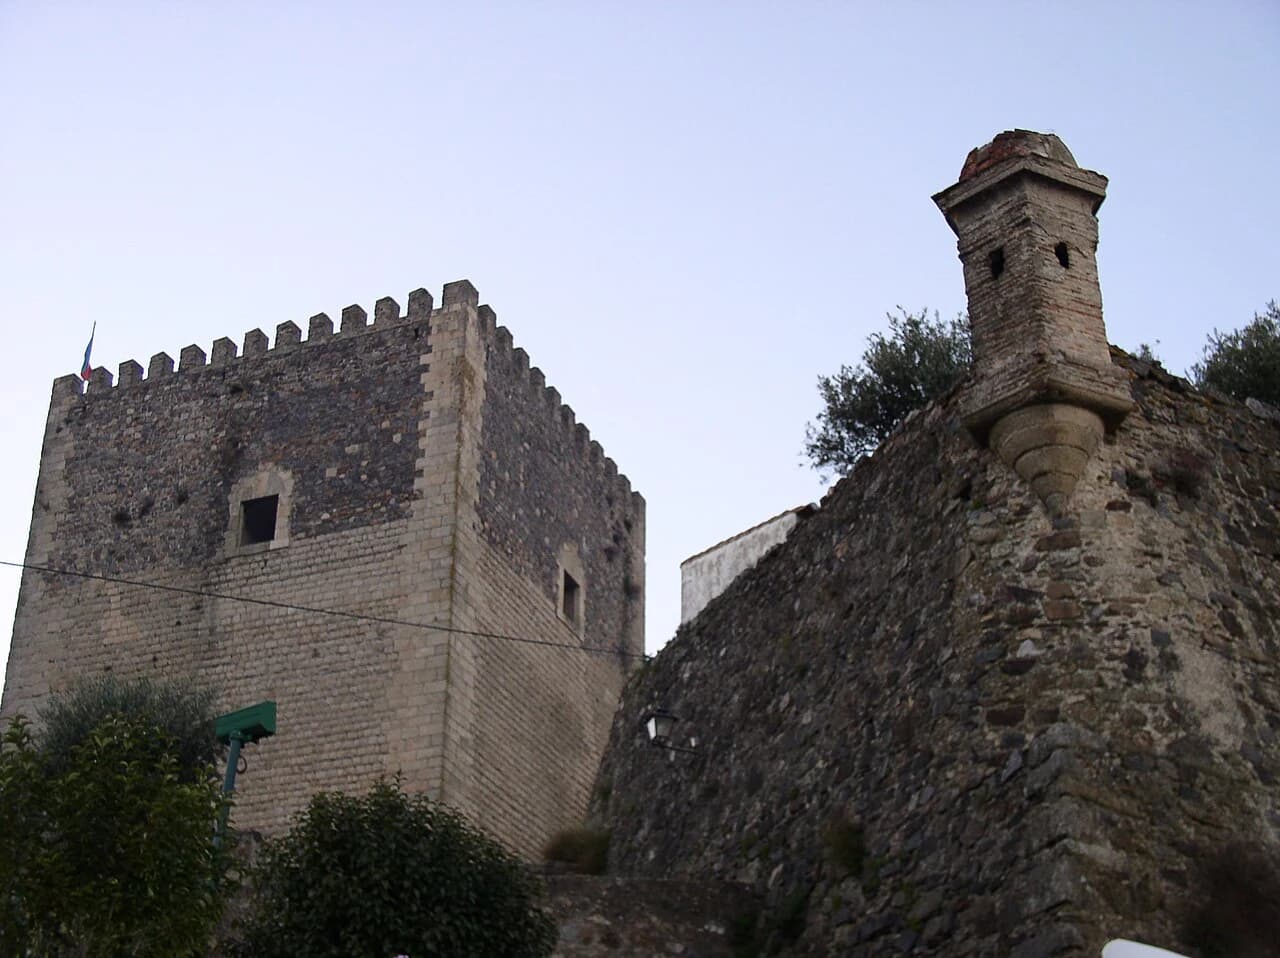
Focusing on the defensive engineering. I selected images that show the crenelated walls and a sentry box detail.

The Wall Walkway
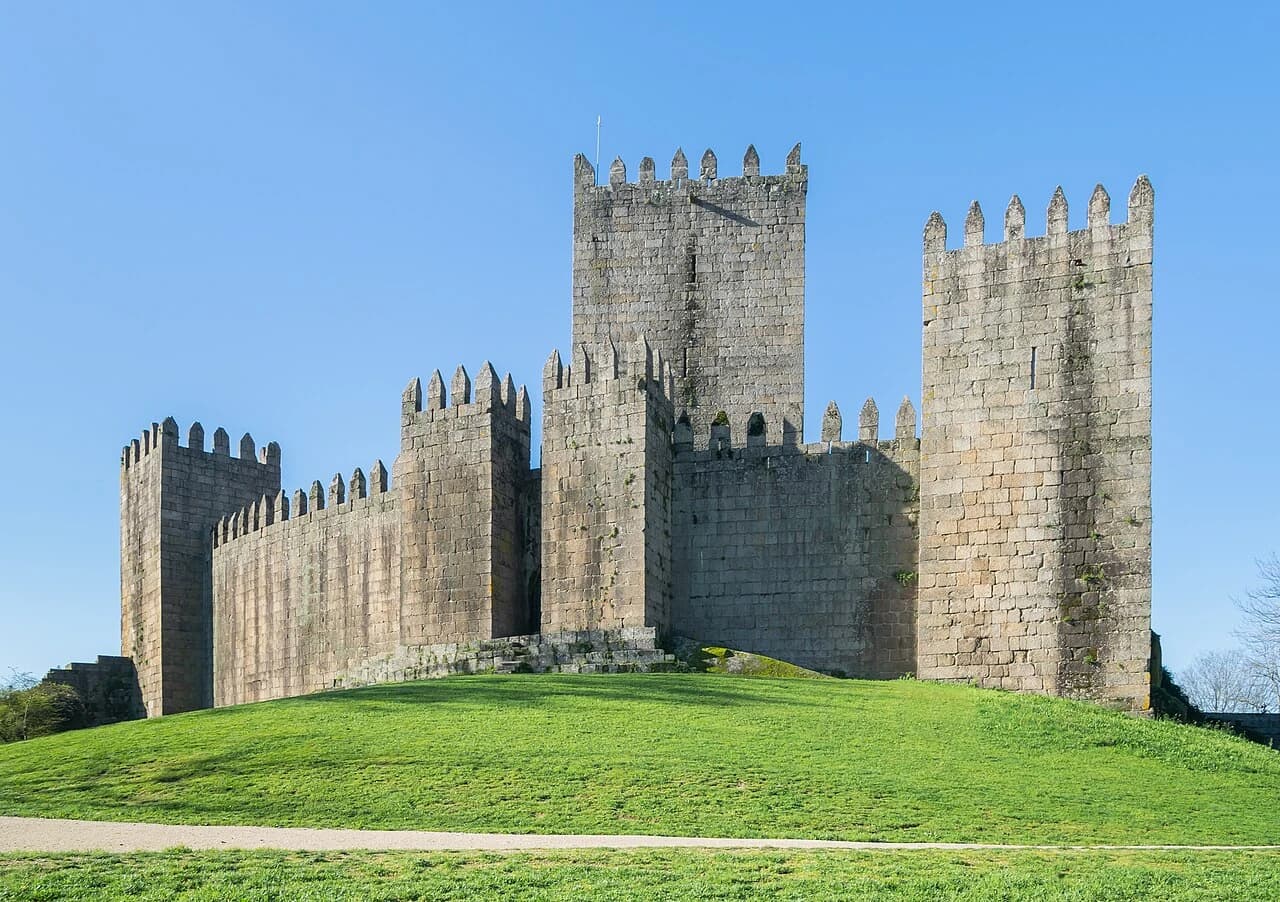
The walkway along the top of the walls was the primary station for the castle's defenders. Notice the distinct sawtooth pattern of the battlements. The upright stone blocks are called merlons, while the gaps between them are known as crenels. This design provided a rhythmic system of protection; a soldier could step into a crenel to fire an arrow or a musket at an approaching enemy, then quickly step back behind the solid merlon for cover. The height of the walls was a significant advantage, as it made it difficult for attackers to scale the fortress and gave the defenders a clear field of fire. If you visit late in the day, the long shadows cast by these stones emphasize the precision of the engineering. Every block was placed to ensure that there were no blind spots where an enemy could hide. This walkway connects the various towers of the fortress, allowing for the rapid movement of troops to whichever section of the wall was under the most pressure. It is easy to imagine the sound of iron-shod boots on these stones as guards patrolled through the night, watching for any sign of movement in the distance.

The Corner Sentry Box
Perched precariously on the edge of the wall is a 'guarita,' or sentry box. These structures were added or modified in the centuries following the castle's initial construction as military technology and tactics evolved. Their primary purpose was to house a single guard who would spend hours watching the distant horizon for signs of movement from the Spanish border. Inside, the space is incredibly cramped, and the narrow slits in the stone provided the sentinel's only window to the world. These 'loopholes' were designed to offer a wide field of vision while keeping the guard almost entirely protected from enemy fire. During a long, lonely shift, a guard would have had to endure the biting winds of winter and the scorching heat of the Alentejo summer. The placement of this box at a corner of the wall was strategic, allowing the sentry to see along two different lengths of the fortification simultaneously. These tiny outposts were the eyes of the fortress, providing the early warning necessary to prepare the garrison for an attack. The rough texture of the stone and the narrowness of the slits highlight the focus on survival over comfort.
The Salgueiro Maia Museum
Modern history within the medieval walls. This stop covers the 20th-century history of the town's most famous son, Salgueiro Maia, using museum artifacts.

The Megaphone of Revolution
Inside the castle walls, you will find a museum dedicated to one of Castelo de Vide's most famous sons: Salgueiro Maia. He was a key figure and a hero of the 1974 Carnation Revolution, the event that ended decades of dictatorship in Portugal. One of the most significant artifacts on display is the fatigue uniform he wore during that historic day, alongside the megaphone he used. It was through this very megaphone that Maia demanded the surrender of the dictatorship's forces at the Carmo Barracks in Lisbon. The presence of this museum within the castle creates a powerful connection between different eras of military history. While the outer walls were built for medieval sieges and territorial defense, this exhibit honors a different kind of fight—one for civil liberties and democratic reform. The contrast between the ancient granite stones of the fortress and the 20th-century military equipment underscores how the role of the soldier in Portuguese society has evolved. Salgueiro Maia’s actions helped transition the nation into the modern era, making this stop a vital part of understanding the town's enduring spirit and its contribution to national history.
The Frontier Viewpoint
Explaining the strategic importance. High-angle shots and views through the walls illustrate why this location was a critical border defense.

São Mamede Mountain View
Looking out from the heights of the castle, the landscape is dominated by the Serra de São Mamede mountains. This range is the reason Castelo de Vide is often compared to Sintra. The mountains create a unique microclimate that traps moisture, leading to significantly more rainfall and lush vegetation than is typical for the Alentejo region. This green, fertile environment was a major strategic asset. A garrison stationed here had access to water and local food supplies that were harder to find in the drier plains to the south. The hilltop location offered more than just a defensive advantage; it allowed the castle to control the primary routes through the mountains, which were essential for trade and troop movements between Portugal and Spain. The varied terrain of the mountains, with its thick forests and rocky outcrops, also provided natural obstacles that an invading army would have to navigate. Holding this high ground meant controlling the gate to the northern Alentejo. The beauty of the view today is a legacy of the same geographical features that once made this one of the most contested and valuable hilltops in the country.

The Archer's Loophole
Notice the narrow stone embrasure, or loophole, piercing the thick wall. This feature demonstrates the clever physics of medieval defense. On the outside, the opening is extremely narrow—just a few inches wide—making it an almost impossible target for an enemy archer or musketeer below. However, on the inside, the opening flares out significantly. This 'splay' allowed a defender to stand close to the wall and move their bow or firearm side-to-side, granting them a broad field of fire over the surrounding area. Through this specific loophole, you can see the white-washed buildings of the town center clustered at the foot of the hill. This view serves as a reminder that the castle's protection was very literal. During an attack, the community would abandon their homes and retreat into the ward, while soldiers used these loops to keep the enemy at bay. The stone surrounding the opening is worn, a result of centuries of weather and use. These narrow windows were the only way for the defenders to see the world they were protecting, creating a tight, focused perspective on the landscape and the town that relied on them for survival.
The Town and Jewish Quarter View
The final stop looking down from the walls toward the historic center, reinforcing the 'Sintra of the Alentejo' atmosphere before exit.

Exit to the Jewish Quarter
As you pass through this final exit gate and begin your descent into the town, take a final look at the massive granite blocks that form the base of the fortifications. These stones have been the silent witnesses to everything from medieval sieges and royal decrees to the 1705 explosion and the modern birth of democracy. Just below these walls lies the historic Jewish Quarter, or Judiaria. This area is famous for its narrow, winding streets and white-washed houses, many of which still feature original medieval doorways. The proximity of the Jewish community to the castle walls is no coincidence; being close to the fortress provided a degree of protection and was often a requirement for prominent merchant families. As you walk down the cobbled streets, the rugged military atmosphere of the castle gives way to the intimate, domestic character of the old town. The transition from the high granite battlements to the residential heart of Castelo de Vide marks the end of our journey through the fortress, leaving you to explore the rich cultural tapestry of the community that flourished under its shadow for centuries.
Want to hear the rest?
Download the Stanza app to unlock all 15 stops and full GPS-guided navigation.
Frequently Asked Questions
How long does the Castelo de Castelo de Vide audio tour take?
The Castelo de Castelo de Vide audio guide includes 15 narrated stops. Most visitors spend 45 minutes to 1.5 hours exploring the complete tour, though you can listen at your own pace and skip or revisit any stop.
Is the Castelo de Castelo de Vide audio guide available in my language?
Stanza supports 15 languages: English, Spanish, French, German, Italian, Portuguese, Russian, Japanese, Chinese, Korean, Arabic, Hindi, Polish, Dutch, Hebrew. Check the guide in the app to confirm the languages currently available for this tour.
Can I use the audio guide offline at Castelo de Castelo de Vide?
Yes! Download the complete Castelo de Castelo de Vide tour — including all audio, maps, and images — before your visit. The Stanza app works completely offline, so you don't need WiFi or mobile data at the venue.
How much does the Castelo de Castelo de Vide audio guide cost?
The Stanza app is free to download. Free and paid audio guides are available; current prices are shown in the app.
How do I use the Stanza audio guide at Castelo de Castelo de Vide?
Download the free Stanza app, search for "Castelo de Castelo de Vide", and download the tour. When you arrive at the venue, the app uses GPS to detect your location and automatically plays the relevant narration as you move between points of interest — completely hands-free.
What makes the Stanza audio guide different from other Castelo de Castelo de Vide tours?
Stanza offers GPS-triggered narration that plays automatically as you walk through Castelo de Castelo de Vide — no need to manually select stops. The tour is available in 15 languages, works fully offline, and includes 15 expertly narrated stops with images and historical context.
What other audio guides are available near Castelo de Castelo de Vide?
Stanza offers multiple audio guides in Castelo de Vide, Portugal and nearby areas. After downloading the app, browse the map to discover all available tours near Castelo de Castelo de Vide. Each guide can be downloaded for offline use.