Stanza · Audio guide
Bletchley ParkAudio guide
A place to remember. A story to take with you.
Bletchley Park served as the principal center of Allied code-breaking during World War II, where the Enigma code was famously decrypted. It now functions as a prominent museum documenting this critical…
Download Stanza, then search for “Bletchley Park”.
About the tour
One guide. Your kind of visit.
Bletchley Park served as the principal center of Allied code-breaking during World War II, where the Enigma code was famously decrypted. It now functions as a prominent museum documenting this critical military history.
Ready when you are.
- 01Get the free Stanza app.
iOS & Android
- 02Find your guide.
“Bletchley Park”
- 03Download before you go.
Works offline
Audio guide / 22 narrated stops
Inside the guide
Get to know a few of the stories before you go. Open a stop to read more.
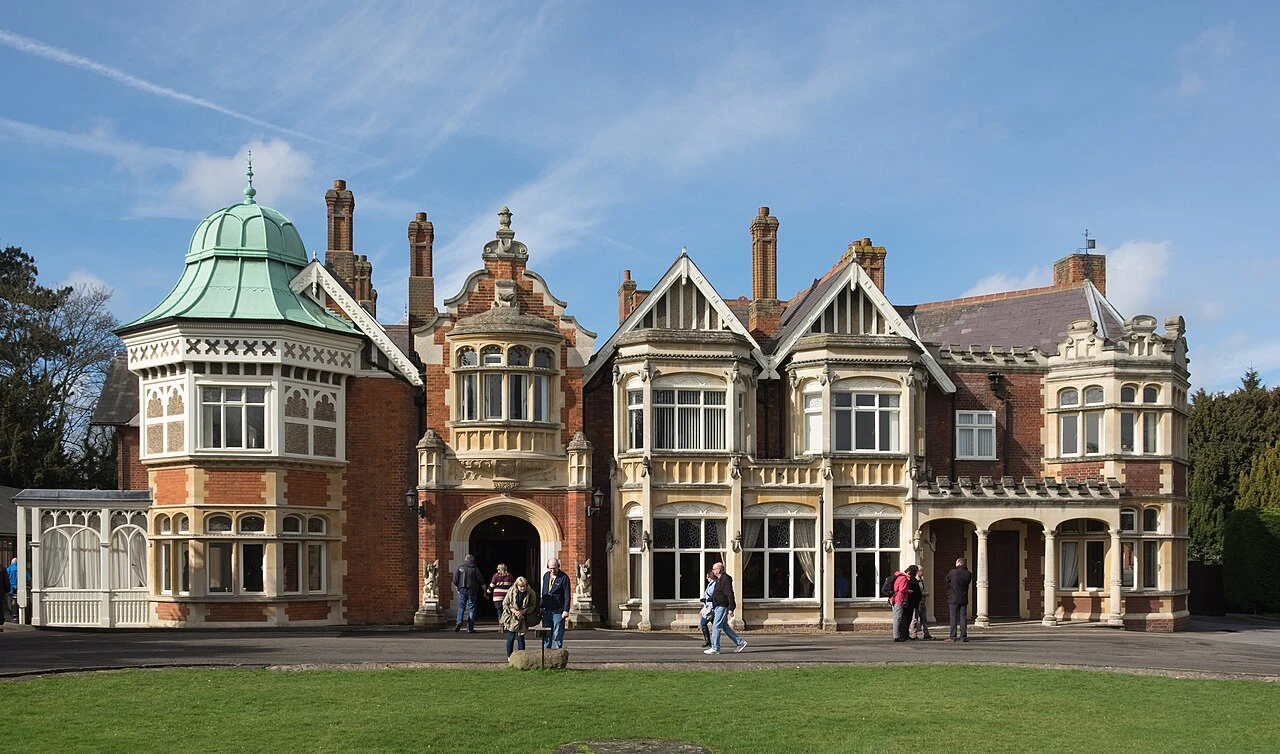
01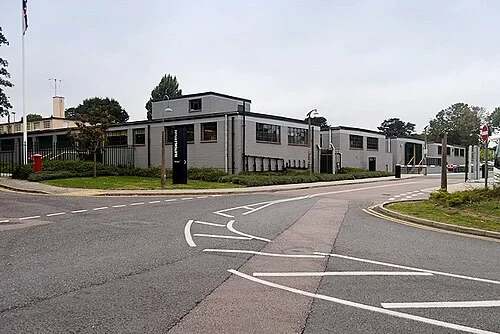 The Visitor Center and ArrivalThe Modern Gateway
Welcome to Bletchley Park, a sprawling site spanning fifty-eight acres that once housed the world’s most secret intelligence operation. Your journey begins here at Block C, a low-rise concrete structure built during the height of the Second World War to accommodate a rapidly expanding workforce. Unlike the elaborate Victorian mansion nearby, this building reflects the stark, functional demands of wartime Britain. Its architectural style is strictly utilitarian, prioritizing speed of construction and administrative efficiency over aesthetic charm. Thousands of staff members passed through these corridors daily, carrying out vital administrative and codebreaking support duties. Today, modern glass doors invite you to step inside this historic hub, which served as a crucial nerve center in the global effort to intercept and decrypt enemy communications. As you walk through, consider the sheer scale of the operation that grew from a small group of academics into a military intelligence machine of thousands.
David Dixon · CC BY-SA 2.0
02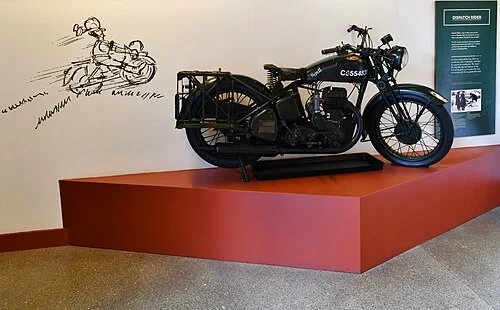 The Visitor Center and ArrivalThe Dispatch Rider's Motorcycle
Before computers could transmit data instantly, the flow of intelligence depended on the endurance of dispatch riders. Raw encrypted radio signals, intercepted at listening posts known as Y-stations across Great Britain, were copied down by hand onto paper logs. These messages were packed into canvas bags, and riders rushed them directly here for decryption. Operating under strict blackout conditions, these couriers navigated dark, unlit wartime roads at night, facing poor weather, accidents, and mechanical failures. The motorcycle on display features a black leather saddle and a heavy steel frame, typical of the standard military-issue BSAs used during the early 1940s. These robust machines were built to survive rough treatment and constant use under pressure. Without these riders, the brilliant mathematical work of the codebreakers could never have begun, as they formed the physical link between the listening stations and the cryptanalysts working in the park's secretive huts.
Michael Garlick · CC BY-SA 2.0
03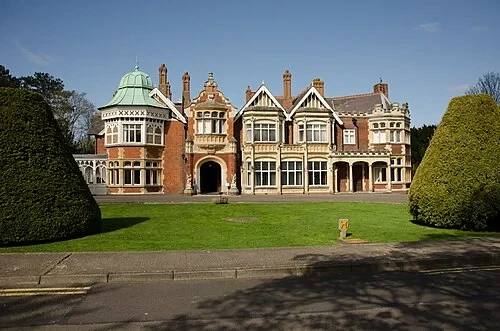 The Mansion and Pre-War HistoryThe Mansion Exterior
Long before the war transformed the estate, this country house reflected late-Victorian wealth. Designed in 1877 by architect Samuel Lipscomb Seckham, the building displays an eccentric mix of Victorian Gothic, Tudor, and Dutch Baroque architectural styles. One critic later described the design as a maudlin and monstrous pile due to its chaotic combination of decorative elements. The copper dome atop the left tower has oxidized over time, turning a bright, chalky green. In 1938, as the threat of war loomed, the Government Code and Cypher School secretly acquired the site. To avoid raising local suspicion, the advance party arrived under the cover story of Captain Ridley's Shooting Party, posing as gentlemen visiting the countryside for sport. This architectural curiosity soon became the front for an operation that would help determine the outcome of the war.
Listen in the appPhoto: Outwivcamera · CC BY-SA 4.0
04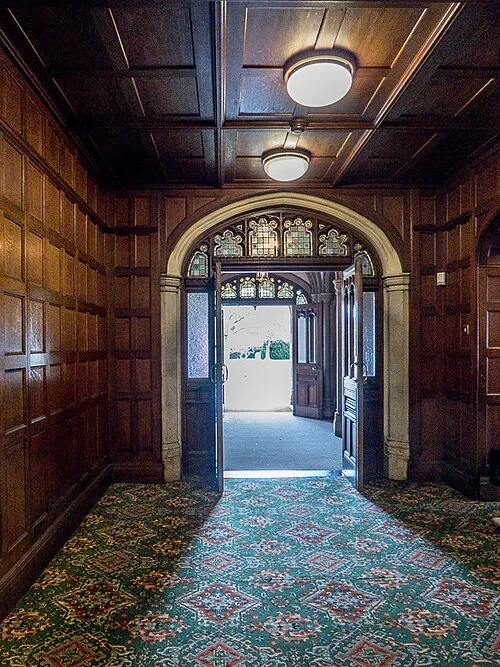 The Mansion and Pre-War HistoryThe Mansion Entrance Hall
Inside the mansion, the architecture reflects the private wealth of its former owners. The entrance hall features heavy, dark wood wall paneling, intricate leaded stained-glass windows, and an arched stone entryway. The floor is covered by a heavy carpet with intricate floral patterns, carefully restored to match the late-Victorian color palette of the late nineteenth century. In 1939, this grand country house setting underwent a sudden transformation. The quiet rooms were filled with desks, telephones, and military personnel as the estate became a crowded, high-security command post. Clerks, intelligence officers, and military commanders walked across these floors, coordinating codebreaking efforts that grew larger by the month. The ornate woodwork and stained glass stood in stark contrast to the urgent, secretive military decisions being made within these walls.
Listen in the appChristine Matthews · CC BY-SA 2.0
05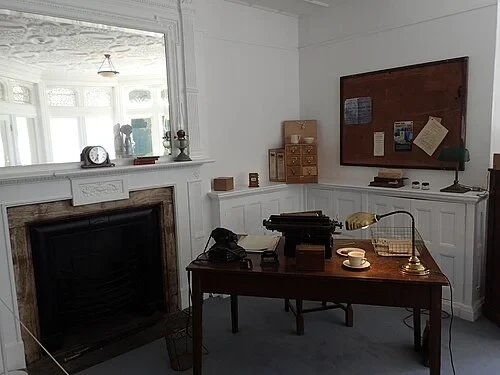 The Mansion and Pre-War HistoryCommander Denniston's Office
This reconstructed room showcases the workspace of Alastair Denniston, the first operational head of the Government Code and Cypher School. The setup is remarkably sparse, featuring a dark wooden desk, a mechanical typewriter, simple filing drawers, and a central fireplace. On the desk, a brass lamp sits next to a plain white teacup and saucer, hinting at the long hours spent here. Denniston faced the formidable administrative challenge of coordinating brilliant but highly eccentric academics, chess champions, and linguists, integrating them into a rigid military hierarchy. Managing these unconventional thinkers required diplomacy, patience, and organizational skill. From this quiet office in the early days of the conflict, Denniston established the foundations for what would become a massive industrial-scale intelligence operation.
Listen in the appMarathon · CC BY-SA 2.0
06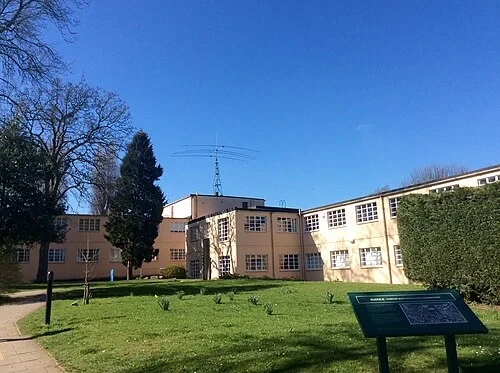 Block B and the Enigma ExhibitionBlock B and the Expansion
As the scale of codebreaking operations grew, the temporary wooden huts built on the mansion lawns proved insufficient. To accommodate the influx of workers and machinery, the estate transitioned to permanent, multi-story brick structures, with Block B being a prime example. This building reflects a strictly functional architectural style, built quickly to house expanding departments. By January 1945, the workforce at Bletchley Park peaked at nearly nine thousand personnel, requiring massive complexes to manage the constant flow of intercepted data. Along the roofline of the far block, a long black horizontal antenna remains mounted, a visual reminder of the radio technology that linked this site to the wider world. The construction of Block B marked the transformation of the site from a small-scale gathering of academics into a highly organized, industrialized intelligence factory.
Listen in the appPhoto: Bibeyjj · CC BY-SA 4.0
07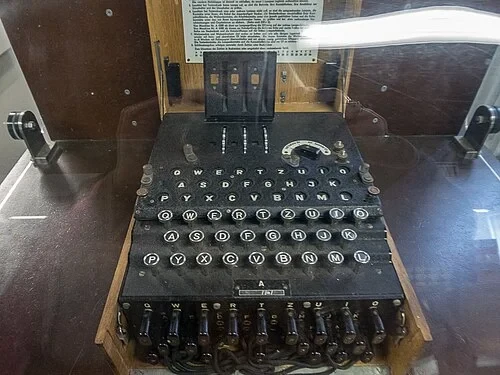 Block B and the Enigma ExhibitionThe Enigma Machine
The German Enigma machine, displayed here inside its wooden carrying case, was the primary encryption device used by the German military. The operator typed a message on the keyboard, which completed an electrical circuit through several components. This electrical current passed through the plugboard at the bottom front, through three stepped aluminum rotors housed in a protective wooden recess at the top, and finally illuminated a letter on the lampboard above the keyboard. Each keypress rotated the rotors, changing the electrical path and scrambling the letters into billions of possible configurations. Because the rotor settings and plugboard connections were reset daily at midnight, codebreakers faced a race against time to crack the daily key before the system changed again. Breaking this device required an understanding of both mechanical engineering and advanced mathematics, as the system was designed to be virtually unbreakable.
Listen in the appChristine Matthews · CC BY-SA 2.0
08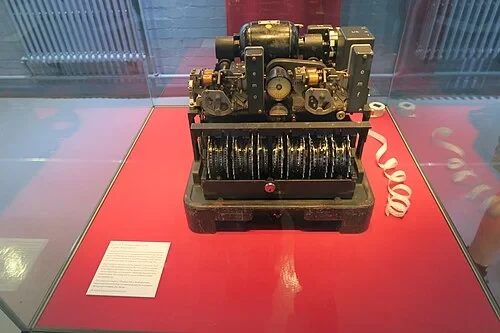 Block B and the Enigma ExhibitionThe Lorenz Cipher Machine
While the Enigma machine secured tactical communications in the field, the Lorenz SZ42 was used for high-level strategic directives. This machine was a much larger online teleprinter cipher attachment used by Adolf Hitler and his high command. Its exposed metal gears, pulleys, and internal mechanisms reveal a highly sophisticated design. With twelve rotors instead of the Enigma's three or four, the Lorenz system generated codes that were vastly more complex and difficult to crack. A paper tape spool on the right side of the machine fed raw Baudot telegraph code directly into the reading mechanism, automated to handle high-speed data transmission. Cracking the Lorenz cipher, which the codebreakers called Fish, provided Allied commanders with invaluable insights into the strategic planning and movements of the German military leadership.
Listen in the appSteve Elliott from UK · CC BY-SA 2.0
09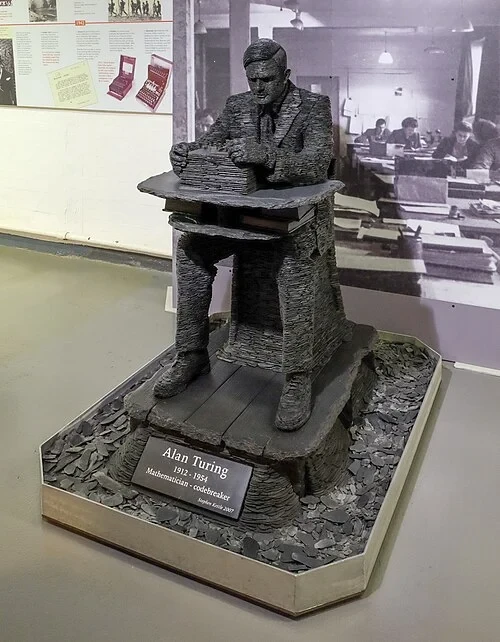 The Alan Turing MemorialStatue of Alan Turing
This life-sized statue commemorates Alan Turing, the mathematician whose work at Bletchley Park was vital in breaking German naval codes. Seated at a desk, the figure is captured in a moment of intense, quiet concentration, holding a codebook in his hands. A close look reveals a highly textured, unusual surface made entirely of Welsh slate. The artist meticulously assembled the sculpture using approximately half a million individual slices of slate, stacked vertically to form the shape of the figure, the desk, and the floor below. This choice of material gives the statue a rugged, layered appearance that matches the complexity of Turing's mathematical achievements. His pioneering work on wartime decryption laid the theoretical groundwork for modern computer science, and this monument stands as a permanent tribute to his intellectual legacy.
Listen in the appPhoto: DeFacto · CC BY-SA 4.0
10 The Alan Turing MemorialAlan Turing Teddy Bear
This worn, well-loved teddy bear, named Growler, provides an intimate look into the personal life of Alan Turing. Displayed carefully in its case, the toy wears a tiny pair of blue and white checkered overalls secured by red buttons. Turing bought the bear as an adult while studying at Cambridge, and it remained a constant companion throughout his life. At Bletchley Park, where Turing faced immense mental pressure while working to break German naval codes, the bear served as a source of quiet comfort and stability. Turing's colleagues noted many of his eccentricities, such as chaining his teacup to a radiator to prevent theft, and keeping Growler nearby was another expression of his unique and sometimes vulnerable personality. This personal artifact serves to humanize a legendary figure, reminding visitors of the sensitive individual behind some of the twentieth century's greatest mathematical and computational breakthroughs.
Listen in the appAntoine Taveneaux · CC BY-SA 3.0
Bletchley Park
Frequently asked questions
How much does the guide cost?
Free app download. Listed guide price: $3.99. Guide price shown in the app. Audio guide only. Venue admission is separate.
Can I listen without internet?
Yes. Download the guide’s audio, images, and maps in the app before your visit. Your downloaded content is then available offline.
Can I listen in my language?
Stanza supports 15 languages. Check the app for the languages available for this guide.
Do I need to follow a schedule?
No. This is a self-guided experience. Choose your stops, pause whenever you like, and return to a story at your own pace.
At your own pace
Explore Bletchley Park.
Download Stanza, then search for “Bletchley Park”.
Free app download · Guide price shown in the app
Keep exploring
Nearby audio guides
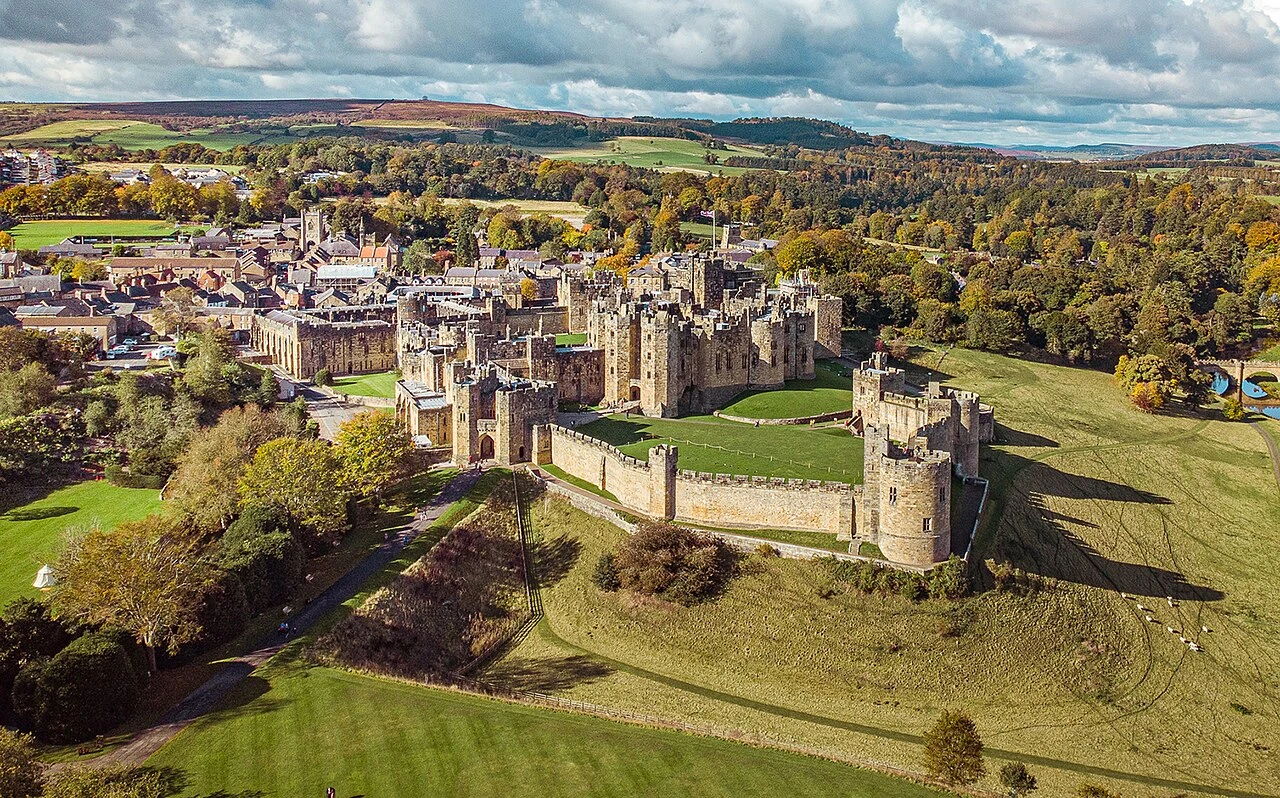
Alnwick
Alnwick Castle
Content & sources
Clementp.fr · CC BY-SA 4.0
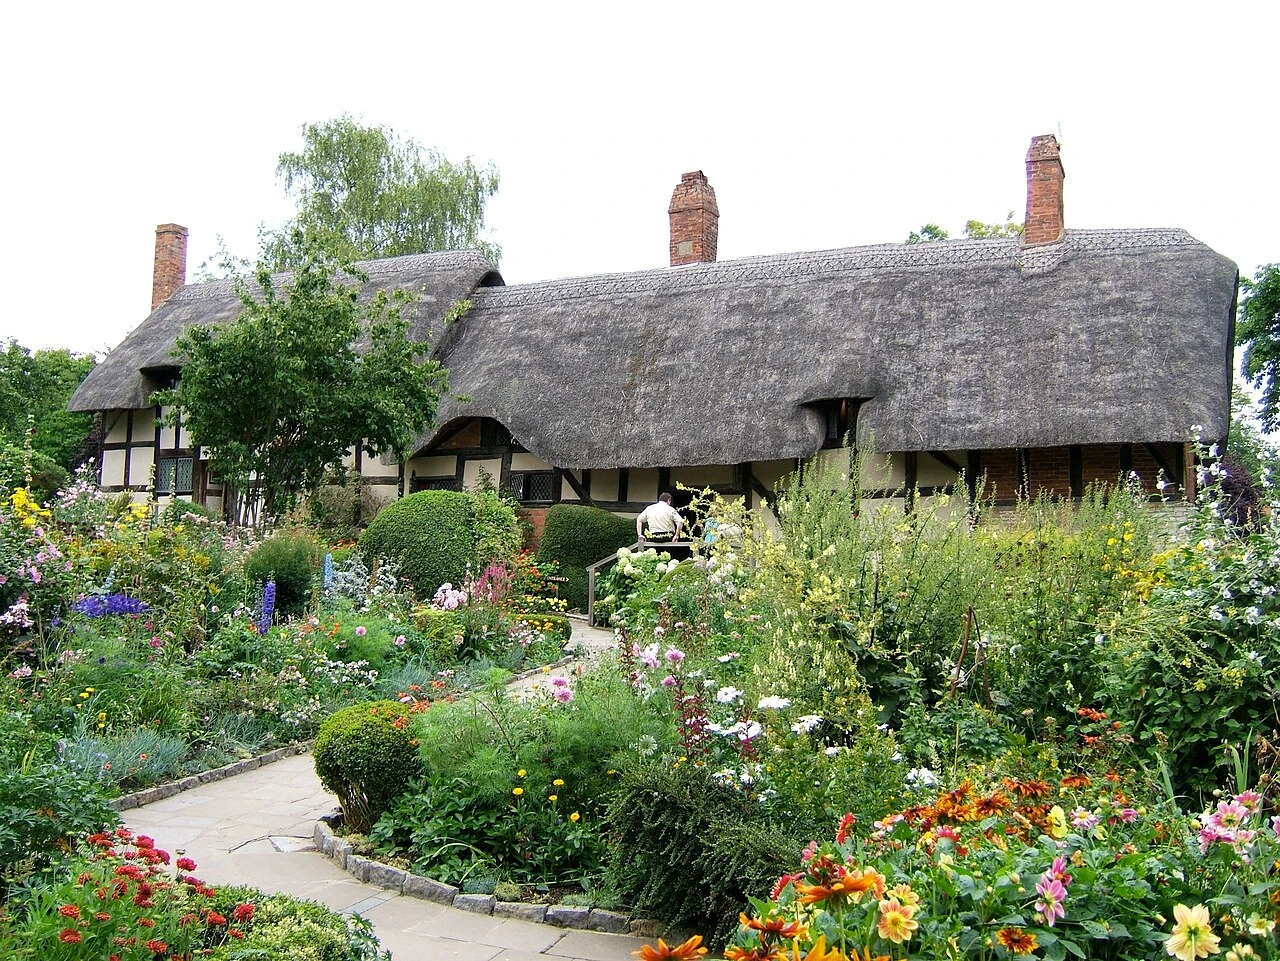
Stratford-on-Avon
Anne Hathaway's Cottage
Content & sources
Richard Peat · CC BY-SA 2.0
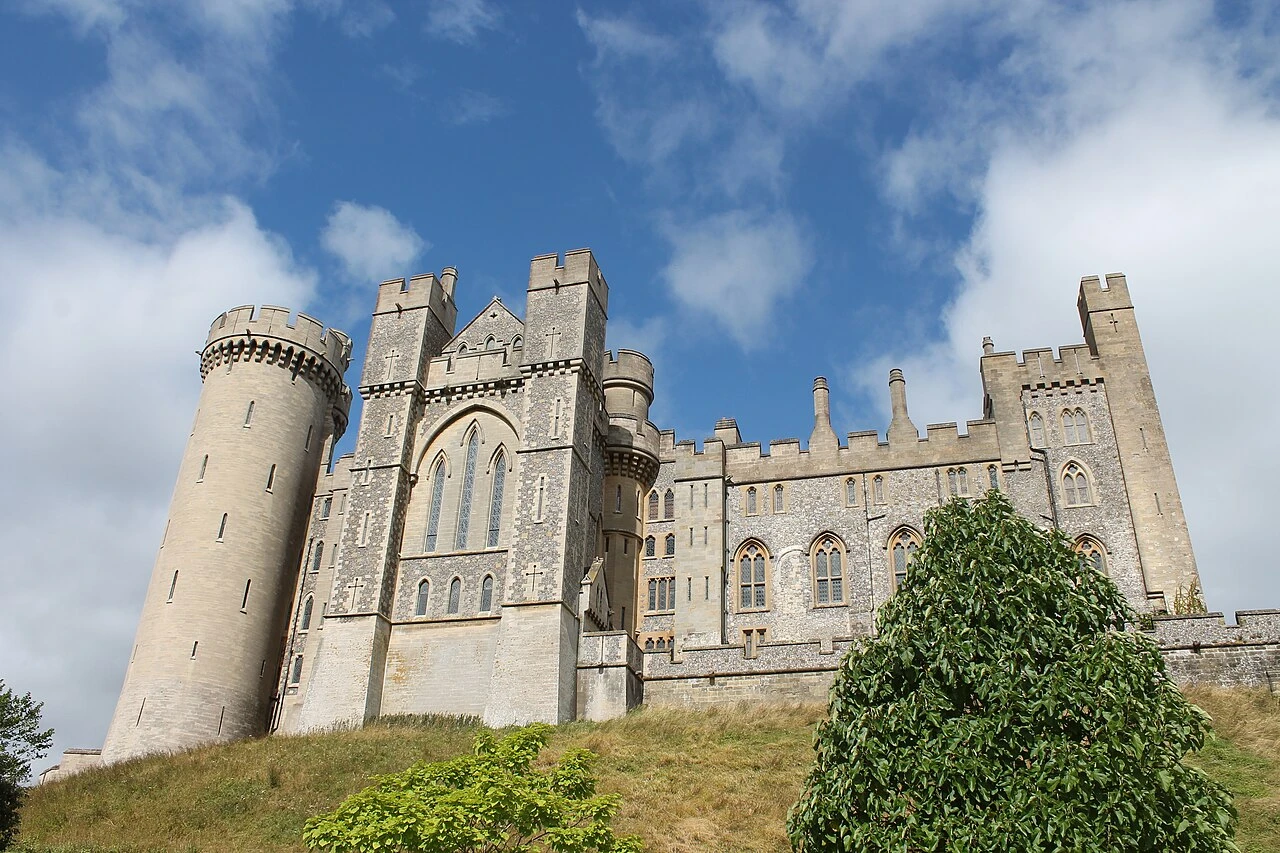
Arun
Arundel Castle
Content & sources
Photo: Egjoni98 · CC BY-SA 4.0
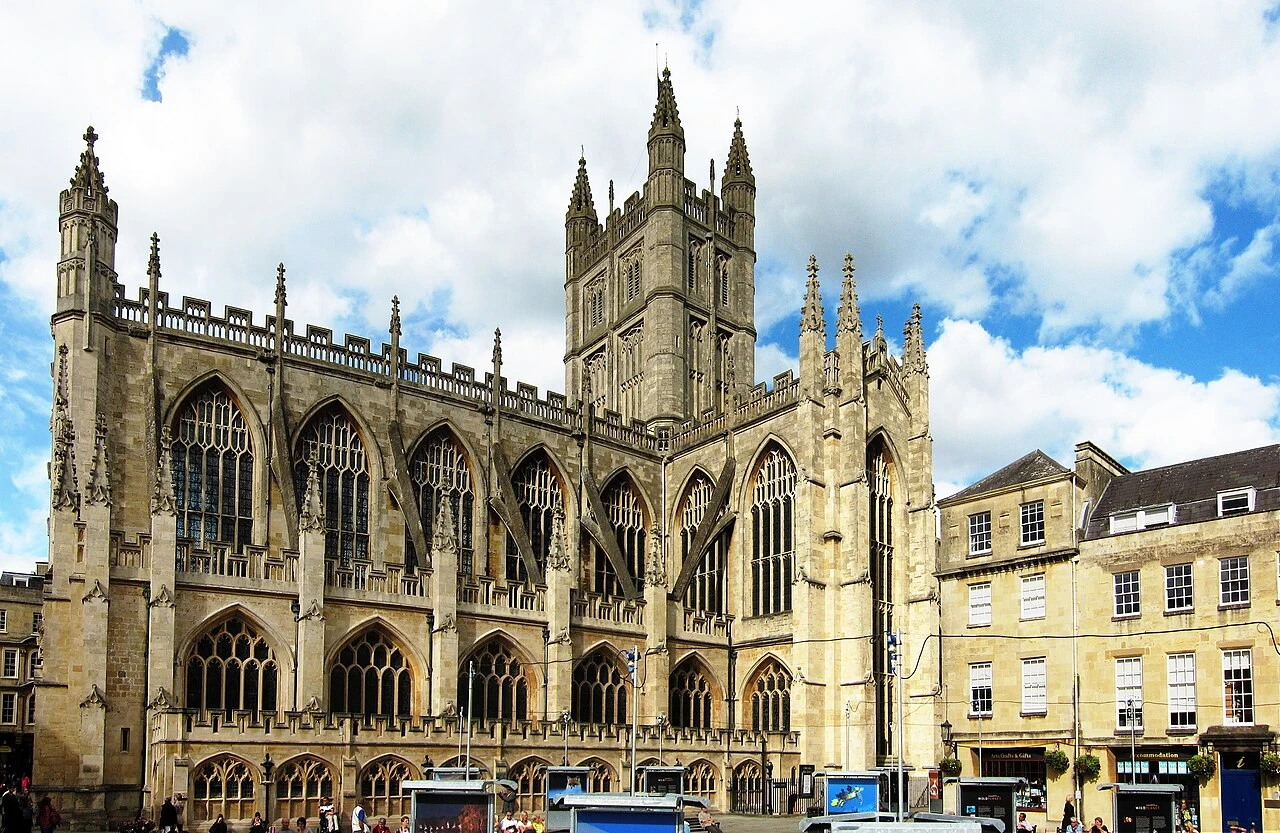
Bath
Bath Abbey
Content & sources
Photo: Velvet · CC BY-SA 3.0